Desert Online General Trading LLC
Dubai, United Arab Emirates
Desert Online General Trading LLC
Dubai, United Arab Emirates


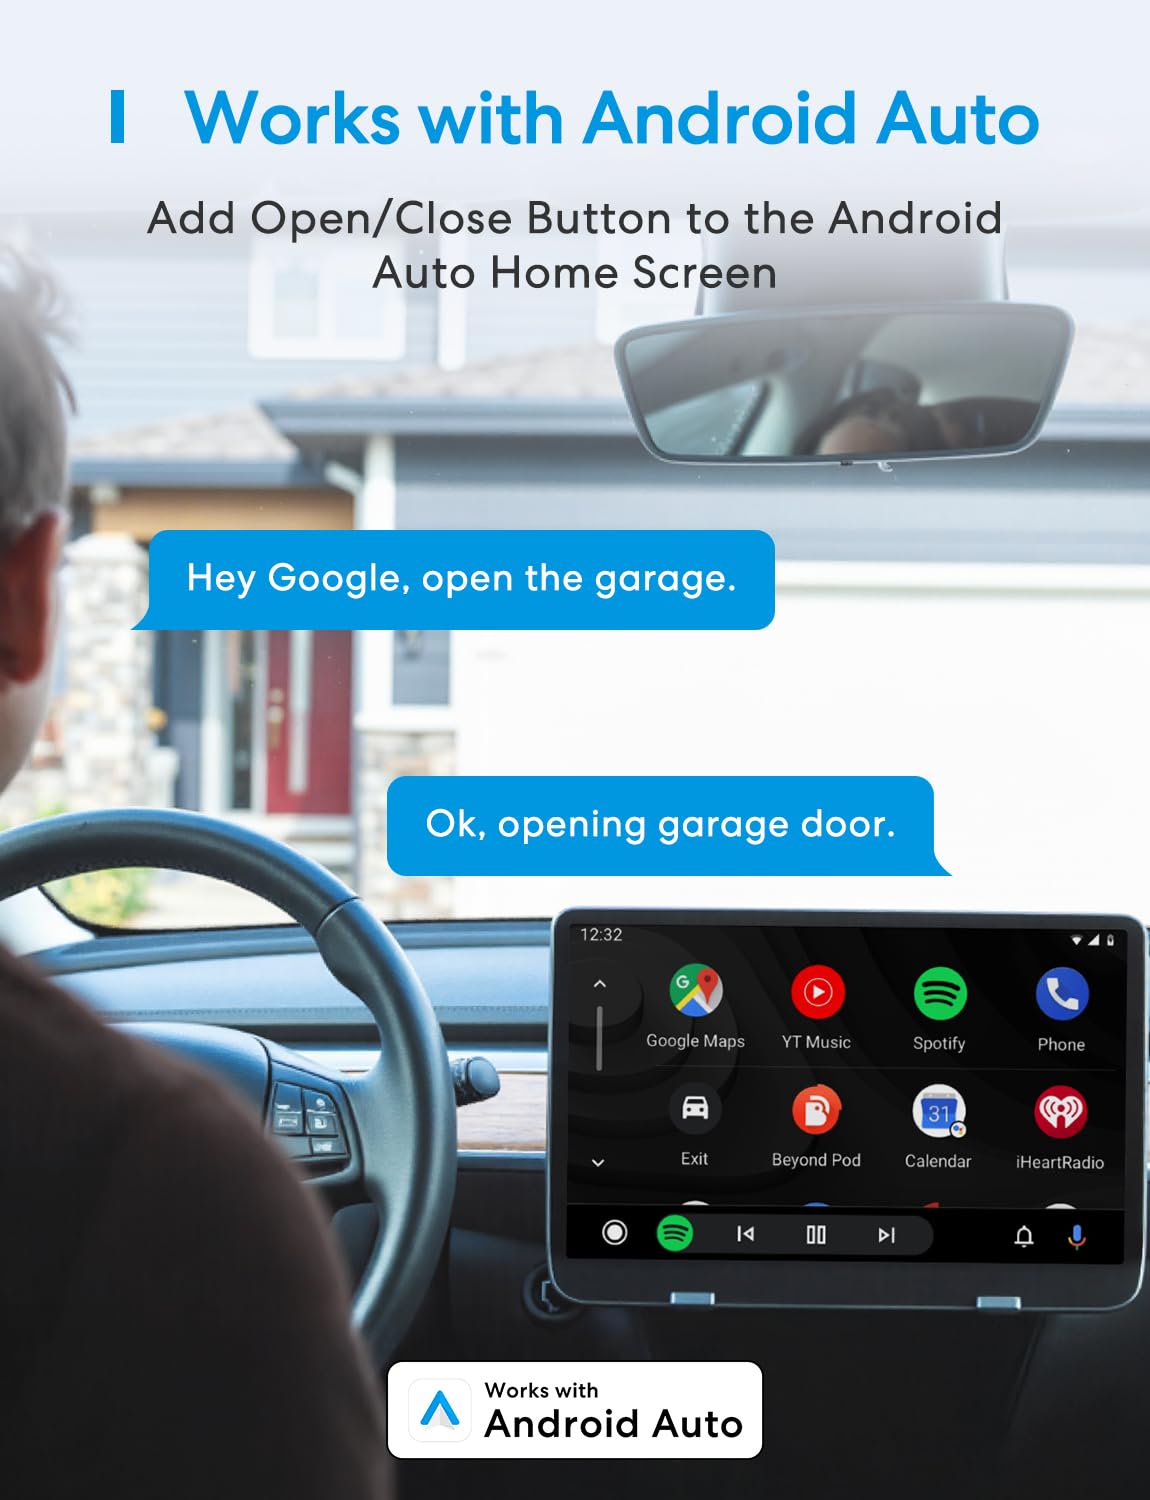


🚪 Unlock the future of home access—smart, simple, and always connected!
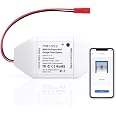
The Meross Smart WiFi Garage Door Opener Remote transforms your existing garage door into a smart, voice-controlled entry point compatible with over 200 brands and 1600 models. Featuring no subscription fees, real-time notifications, and easy installation, it supports Alexa, Google Assistant, and SmartThings on a 2.4GHz WiFi network for seamless, hands-free operation.


| Manufacturer | meross |
| Part Number | MSG100 |
| Item Weight | 8.1 ounces |
| Product Dimensions | 3.7 x 1.8 x 0.9 inches |
| Item model number | MSG100 |
| Is Discontinued By Manufacturer | No |
| Color | White |
| Style | MSG100 |
| Material | ABS |
| Pattern | Remote |
| Voltage | 5 Volts |
| Item Package Quantity | 1 |
| Number Of Pieces | 1 |
| Special Features | No subscription fees or advertising, APP and voice control |
| Usage | remote control garage door |
| Included Components | Smart Wi-Fi Garage Door Opener |
| Batteries Included? | No |
| Batteries Required? | No |
| Warranty Description | 1 year |
Trustpilot
2 months ago
3 weeks ago
1 month ago
1 month ago