Some deliveries may take a little longer than usual due to regional shipping conditions.

DOWNLOAD THE APP


Customer Services
Copyright © 2025 Desertcart Holdings Limited
DOWNLOAD THE APP


🚀 Elevate Your Creativity with Smart 3D Printing!
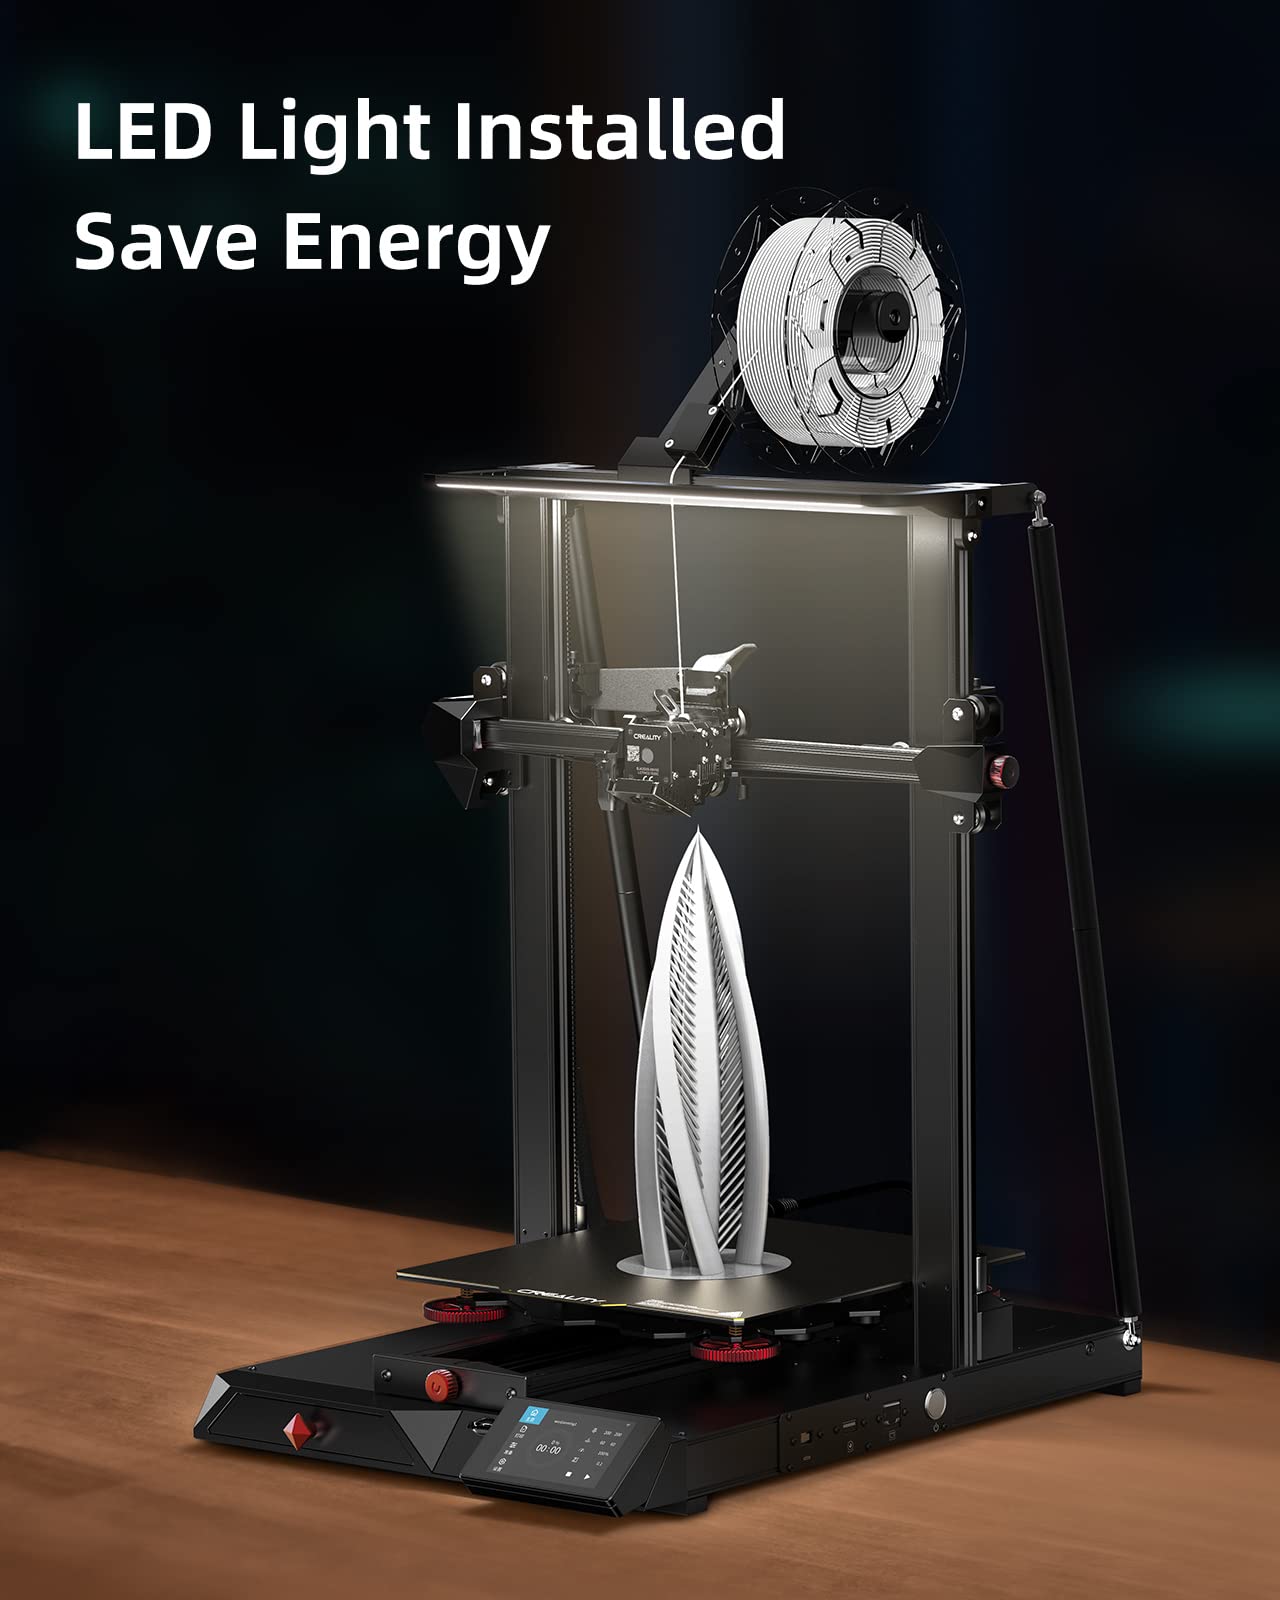
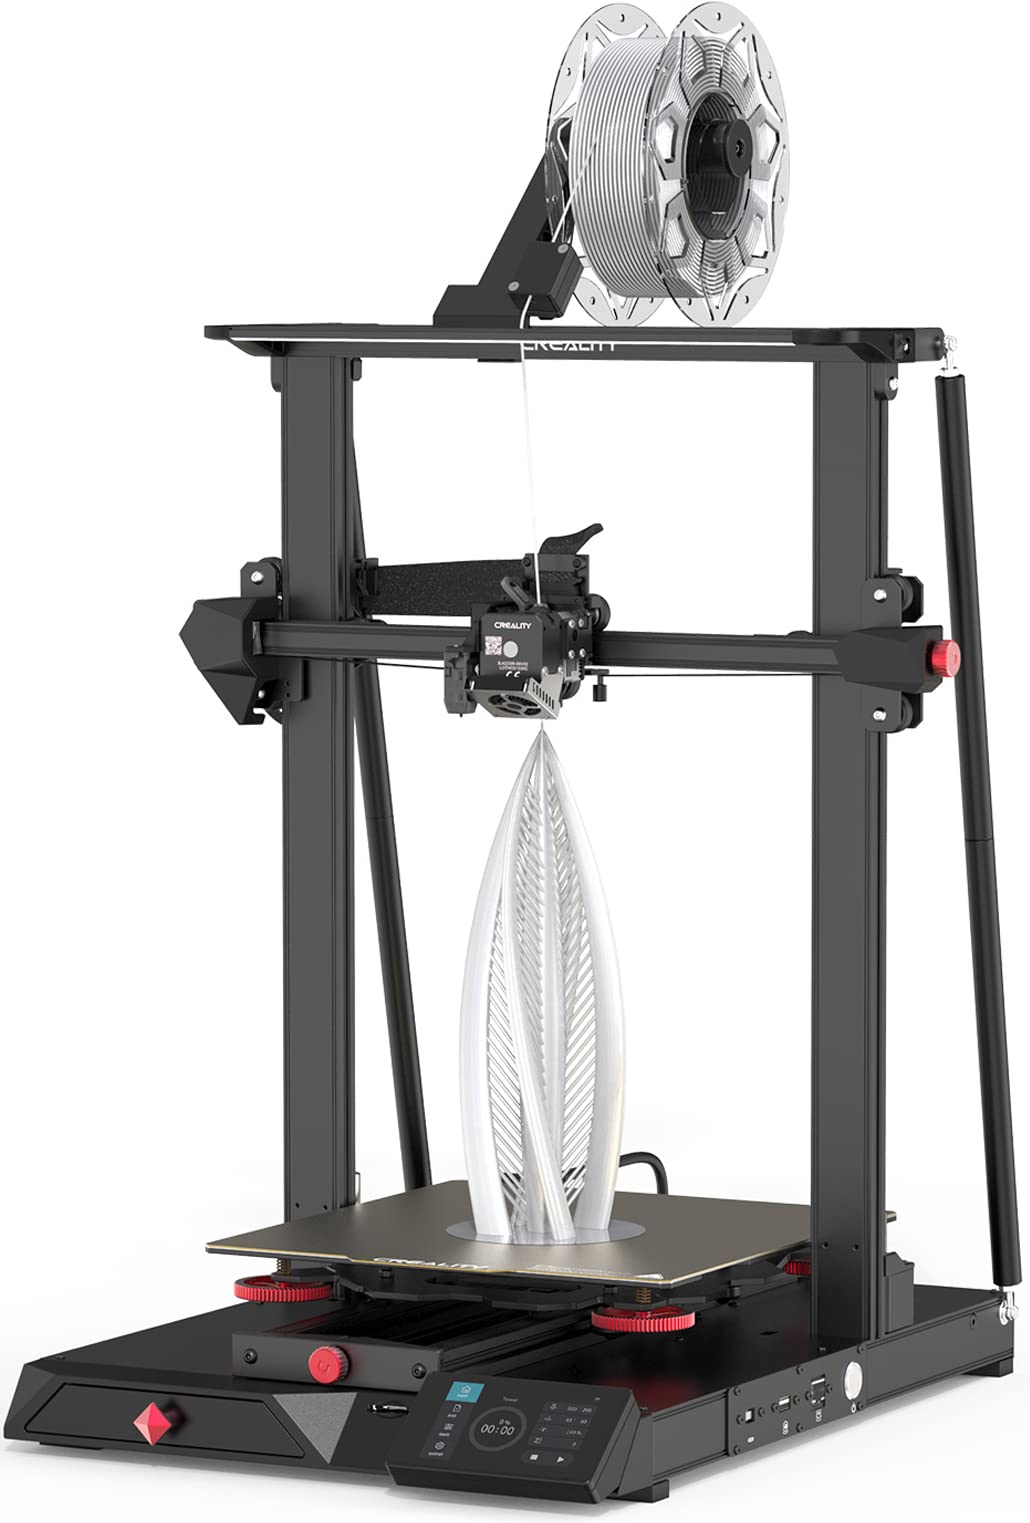
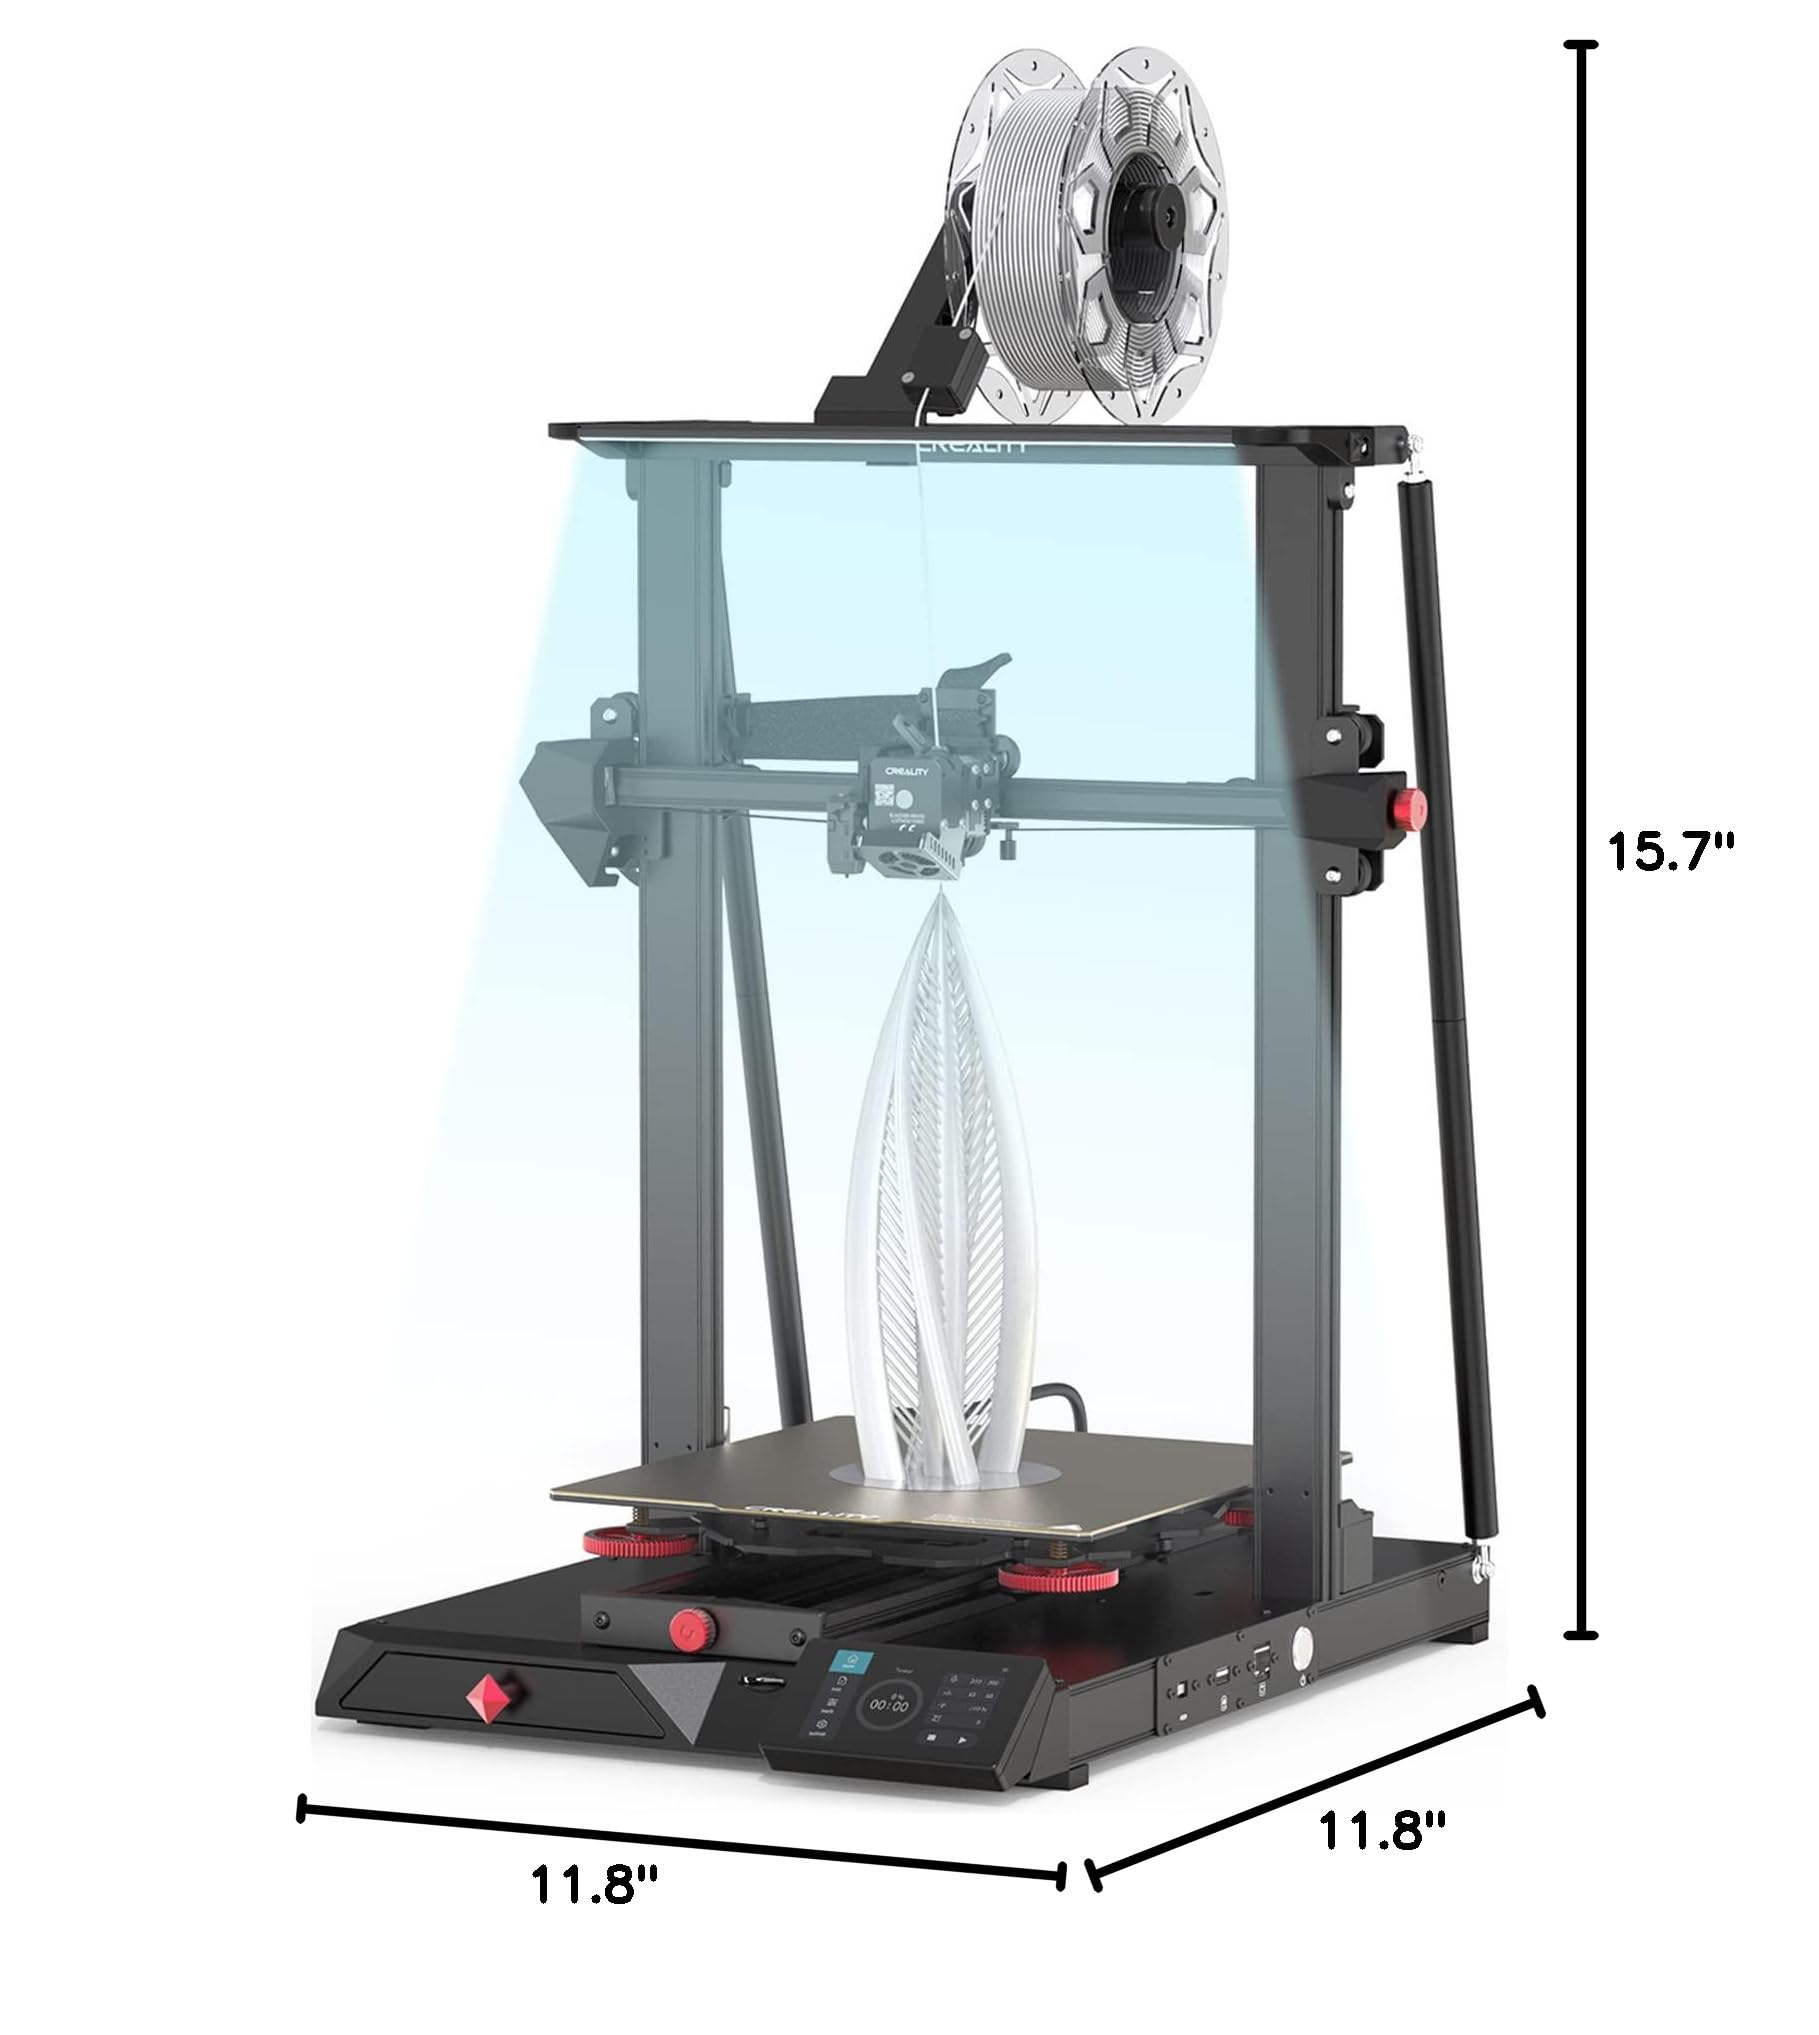
The Creality CR 10 Smart Pro 3D Printer is a cutting-edge device designed for both professionals and beginners. It features a powerful direct extruder capable of reaching temperatures up to 300℃, supports over 10,000 online models through the Creality Cloud, and includes advanced auto bed leveling for precision. With an AI HD camera for real-time monitoring and a generous print size of 11.8 x 11.8 x 15.7 inches, this printer is perfect for a wide range of materials including PLA, ABS, TPU, PETG, PA, and Carbon Fiber.


M**K
All the upgrades you need already included
This is my 5th 3D printer, so it was pretty easy for me to setup. If you've never owned a 3D printer before, most 3D printers have a significant learning curve. The assembly wasn't too bad. The base is already assembled. You have to mount the upright part with the diagonal supports. The cabling is pretty straight forward. The carriage mounts with only a few screws.The first complex part is flashing the new firmware. There are three parts that need updated firmware. The first if the WiFi board. That one is easy once you connect the app. It will tell you that a firmware update is needed and you can do it from the app. The second part of the firmware for the main board. You'll need to download the firmware from the Creality web site, flash it to an SD card, and boot the printer with the firmware SD card in the printer by holding the power button longer than usual to get it to load the new firmware from the SD card. The last firmware is the display firmware. That requires extracting the correct files from the firmware download, flashing them to a MicroSD card, then you have to disassemble the cover for the touch screen and insert the MicroSD card into the internal slot in the touch screen. You will want to search for videos that show the process and follow the steps precisely.The next step is leveling the print bed. This is the most critical part of most 3D printers. Don't rely on the auto leveling at first. Do the manual leveling several times until all 5 points are correct. Once you have the offset correct and all the 5 manual level points adjusted with the knobs, then you can use the auto leveling to keep it in alignment.Once you have it level, you can start some test prints. I was impressed with how nice my prints came out the first time. I first printed the rabbit that came on the SD card. I then sliced and printed a 3D Benchy (a very common test print). I have printed dozens of prints using several different brands of PLA and they all came out very well.I really like the textured PEI flex steel print surface. The texture helps parts stick well. To remove the parts, you can pull off the magnetic print surface and bend it to get parts to detach. For most printers, this is a feature you add later.The direct drive extruder also works well. It will work better with flexible filaments like TPU because it's mostly pulling the filament from the spool and only pushing it about an inch into the hotend. A bowden type extruder pushes the filament through a long tube into the hotend.The other key feature of this printer is the huge print area. You will be able to print much larger objects than most other printers.The WiFi connection is a nice feature, but the Creality Cloud really needs some improvement. I was able to make it work, but it has a very confusing interface. It's nowhere near as nice as OctoPrint or Repetier Server. On the plus side, you don't need to use an external box or computer. I found the best option is to install the full version of Cura, install the Creality Cloud Plug-in, slice your file in Cura and upload it to the Creality Cloud, then use your browser of the Creality Cloud app to start the print.The included USB camera works to view your print progress, but it frequently disconnects the video feed. I can usually just exit and go back into the camera feed to reestablish the connection.
S**N
Be Aware- Sprite print head is under build and very fragile.
Look, Creality is known for making cheap printers that perform remarkable well for the money. I bought this CR-10 Smart Pro thinking that I could use it for rapid prototyping and printing small toy products. Right out of the box, the I needed to flash the firmware because the unit, for reasons I don't understand, didn't have a compatible version on it or had been corrupted some how..... maybe solar flares....not.After I got the machine running and dialed in, I ran it non- stop for a week or so and I was getting excited that this was going to work for me. Then in the middle of an important print, a wire to the specialized heat block thermal couple fatigued and broke. This was disappointing but I have replaced thermal couples before so I tried to order one from Creality's Web site but the closest I could get was a buying the complete heat block with the thermal couple and heater already installed. Its been two weeks and I still have not received them so I went to replace the thermal couple my self. As I carefully attempted to disassemble the print head and remove the connector attached to the NEW Sprite print head architecture circuit board the tiny connector came off and remover the printed circuit board traces with them, effective ruining the print head.So, that's my story, this product can print very well... its almost like a magic trick! I think that Creality needs to improve the robustness of their new Sprite technology. A system that is so fragile that wire break and traces fall off of PCB's after a few weeks of use is not going to make very many customers happy. I felt like it was disinigrating in my hands as I was trying to fix it.In the end, the only option I had was to return it..... which is disappointing. I didn't ever run three spools of filament thru it. Now I'm not sure what I'm going to do to get my printing done.
Trustpilot
2 weeks ago
3 weeks ago