We remain fully operational. Our teams are working around the clock to ensure your deliveries continue safely.

DOWNLOAD THE APP


Customer Services
Copyright © 2025 Desertcart Holdings Limited
DOWNLOAD THE APP
🚗 Brighten your drive, protect your ride—see the road like never before!
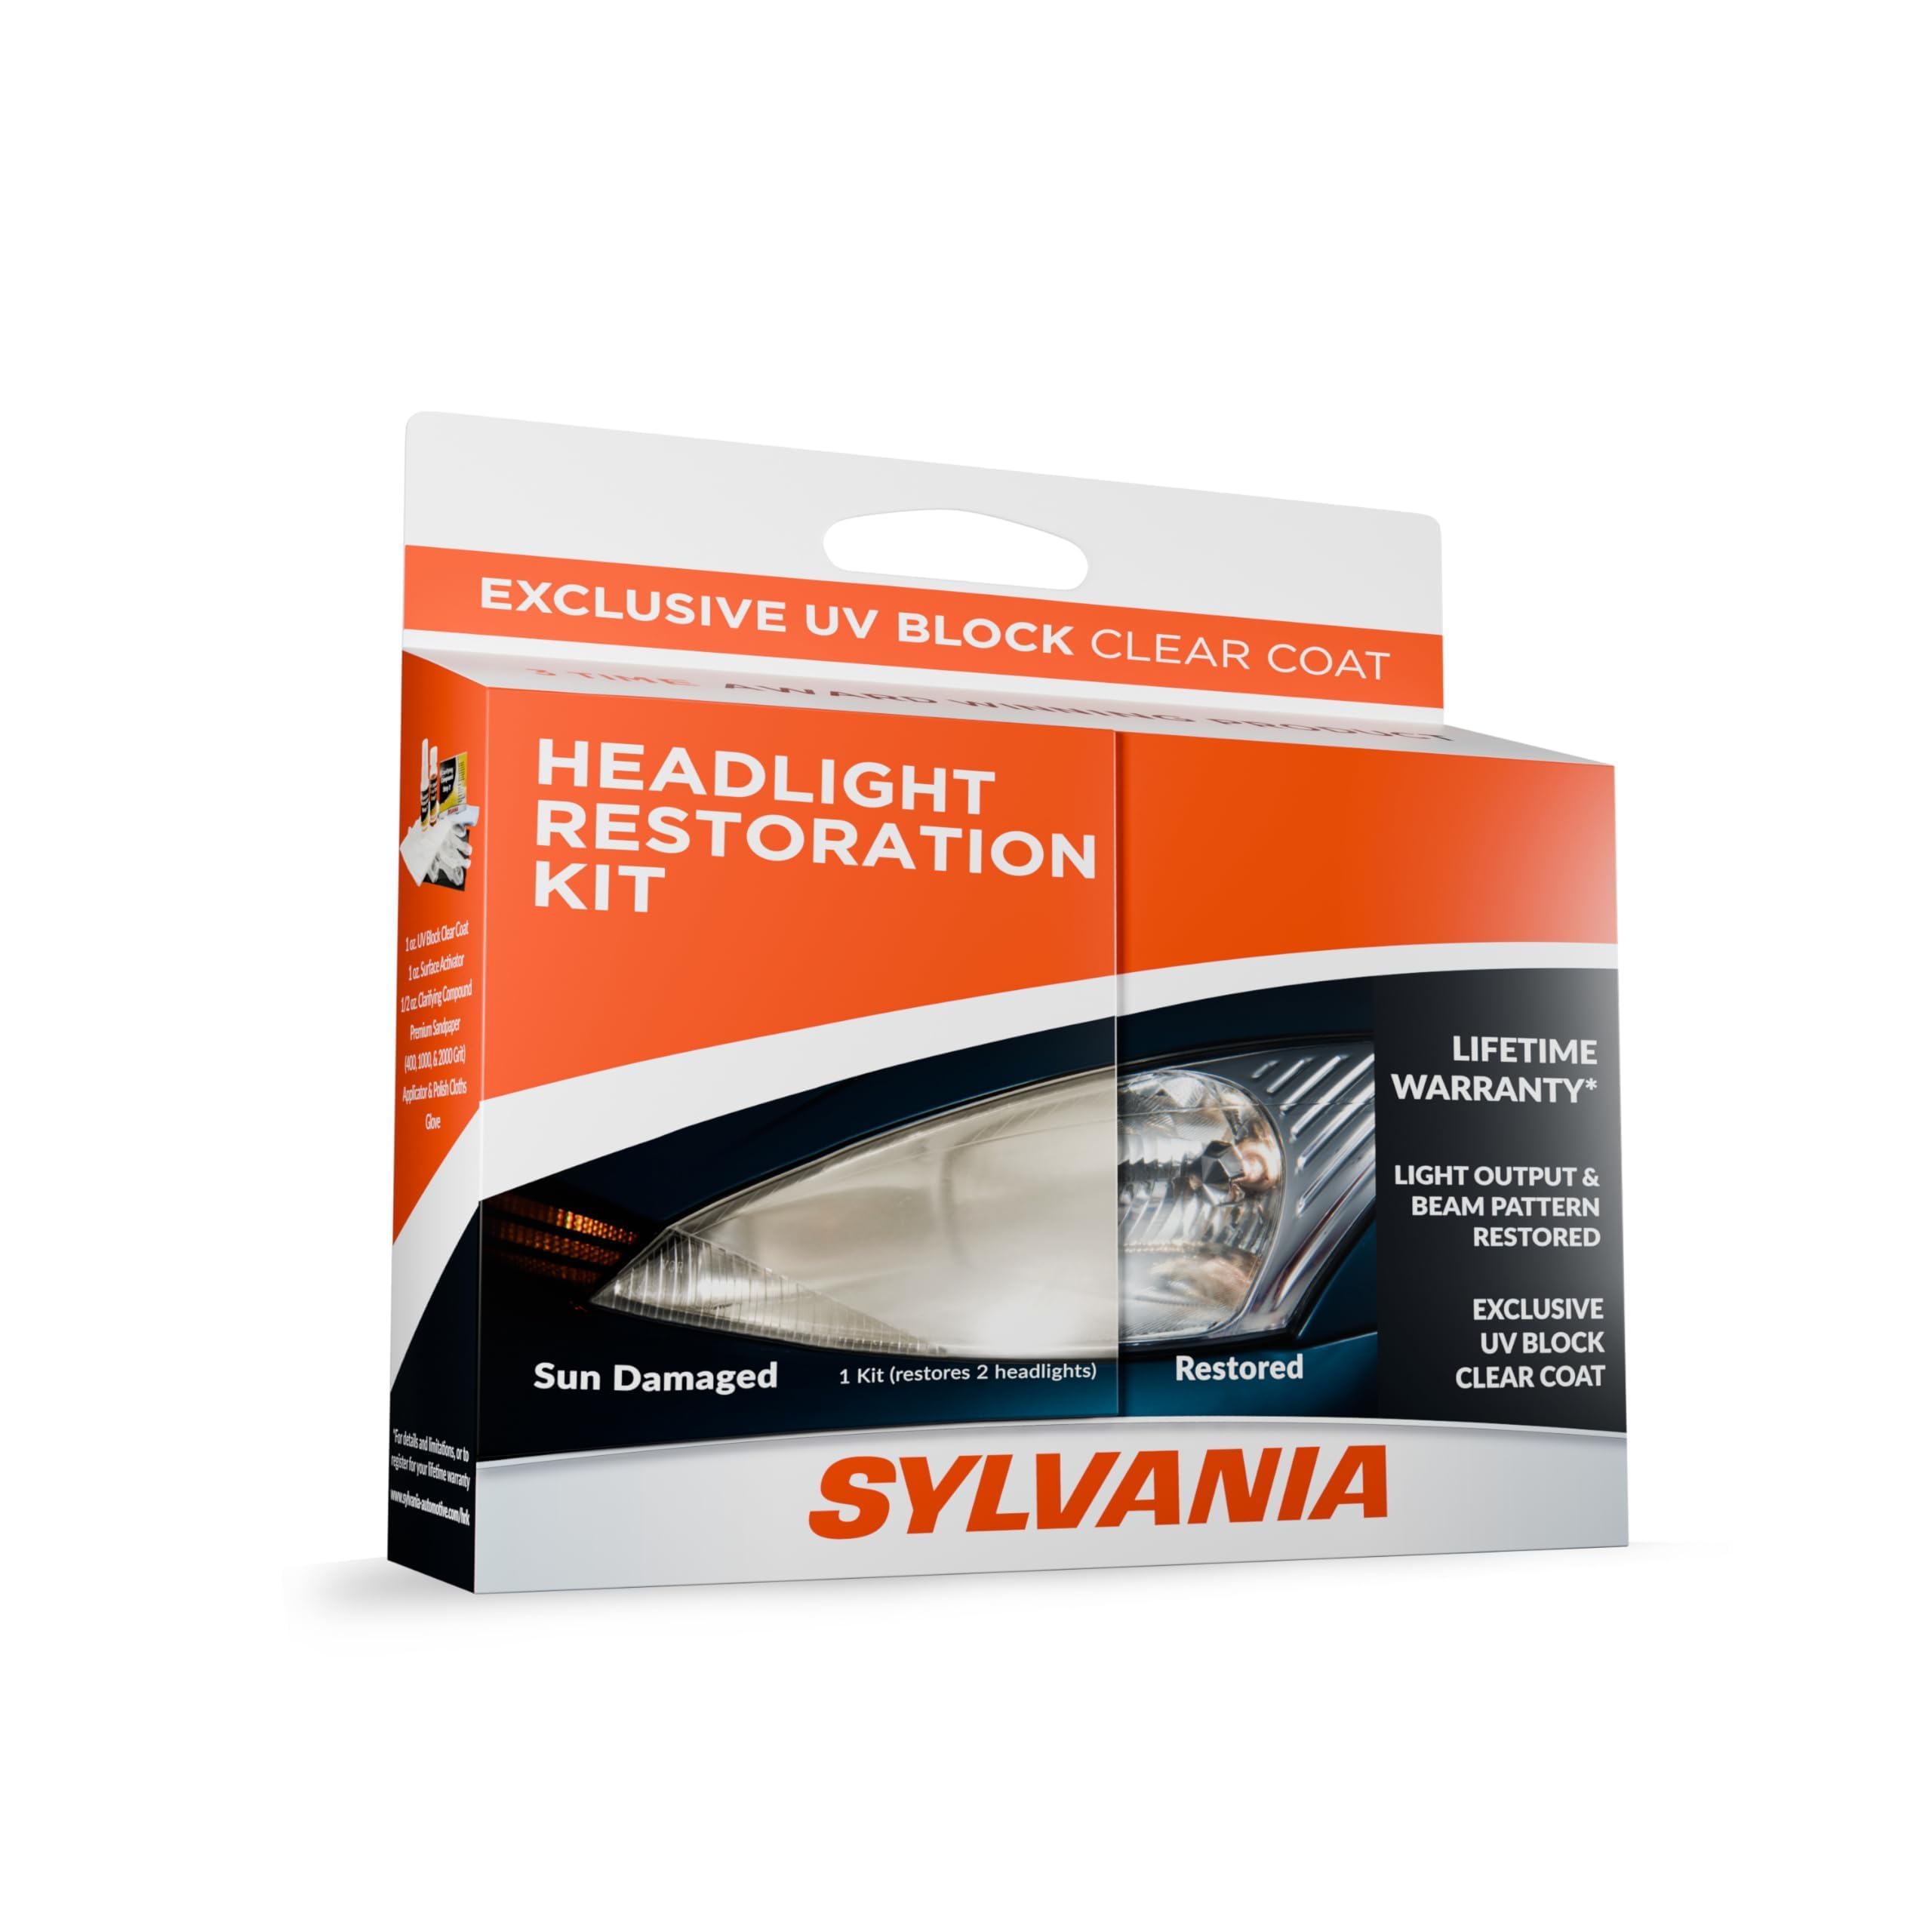
The SYLVANIA Headlight Restoration Kit is a professional-grade, all-in-one solution designed to restore foggy, yellowed headlights to like-new clarity. Featuring an exclusive UV-blocking clear coat, surface activator, and premium sanding materials, it requires no tools and delivers long-lasting protection and improved night driving visibility. Trusted by over 26,000 users with a 4.5-star rating, this kit offers an affordable, durable alternative to costly headlight replacements.


| ASIN | B00429NKWK |
| Best Sellers Rank | #609 in Automotive ( See Top 100 in Automotive ) #3 in Automotive Headlight Restoration Kits |
| Brand | SYLVANIA |
| Customer Reviews | 4.5 4.5 out of 5 stars (26,226) |
| Date First Available | September 8, 2010 |
| Is Discontinued By Manufacturer | No |
| Item Weight | 4.8 ounces |
| Item model number | HRK.BX |
| Manufacturer | OSRAM |
| Manufacturer Part Number | HRK.BX |
| OEM Part Number | 38771 |
| Product Dimensions | 8 x 2 x 6 inches |
| Voltage | 12 Volts |
N**E
Clear as glass again—Pro results in an hour (Winter tested)
My headlights were completely clouded over and oxidized, significantly reducing my visibility at night. I decided to try this kit before spending hundreds on new housings, and I’m glad I did. Complete Kit: This came with everything advertised. The instructions were very clear and easy to follow. User Pro-Tip: While the kit is comprehensive, I highly recommend using a separate spray bottle with water for the wet sanding steps. Keeping the surface constantly lubricated makes the sanding much more effective and prevents the paper from loading up. Effort vs. Reward: It took about one hour to do both headlights. It definitely requires some "elbow grease" during the wet sanding stages, but don't rush it—the more effort you put into the prep, the better the final result. The Results & Durability: The transformation was night and day. The lenses went from hazy and yellow to crystal clear. Most importantly, it’s been three months since the application, and they still look brand new. It has held up perfectly through harsh winter driving (salt and slush) and several trips through the automatic car wash. Final Verdict: 5 Stars. If you’re willing to put in the manual labor for an hour, this kit will save you a fortune. The sealant actually lasts, which is the biggest factor.
C**.
Headlights you thought you'd have to replace? Nope! This makes them like new. Really!
I own a seventeen-year-old Toyota Yaris hatchback (152,000+ miles), which has been parked outside in the sun and elements all of its life. I'd already had the headlights resurfaced (by the Toyota team) many years ago—but my headlights were, by this point in time, at the stage of not passing annual inspection. Replacing both headlight units at the dealership (including labor) would have cost in excess of $700, so I figured—why not try this, and see what happens! The results are really terrific. As "like new" as you're going to get with a seventeen-year-old car which is parked outside. Here would be my observations having just done this project this morning (without access to a hose, mind you!). The instructions are worth reading a couple of times before you take-on the project. It's, actually, a lot easier than the very detailed instructions might imply. Just go step by step, doing each step to both headlights before you move on to the next step, and you'll be fine. 1) Bring lots of water, and a spray bottle (as recommended in the instructions). I filled up some clean milk-cartons I'd saved for the project, and just refilled the spray bottle from those as needed. Super easy. I used about three milk-cartons of water (1.5 gallons). You'll need lots of water-spray as you sand with the provided grades of sandpaper. I would recommend starting (with the first grade of sandpaper) with light to medium pressure, then move to more consistent medium pressure. The second and third grades of sandpaper really are very smooth and fine, and you can finish-off the third grade of sandpaper with a really light pressure. Be patient, and go for a truly smooth surface. I did the recommended circular motions both clockwise, and counter-clockwise, to ensure the smoothest possible finish. Worked like a charm. 2) Regarding the activator spray (with which you will start and, toward the end, use again): I used about 2/3rds of the spray on the first stage (both headlights), dissolving the initial oxidation and grime. I feared I'd not have enough with just 1/3rd by the end, but I had plenty. I'd bring a soft sponge, too, just to ensure that you get the lenses fully clean between steps. I found having extra soft, clean rags helpful with drying as well. 3) Painter's tape definitely protects your paint around the headlight, so take the time to mask-out your light, and protect your paint. The only thing I'd suggest, is to spray-clean your paint-surface after your remove the painter's tape following use of the polishing compound. Some of the polishing compound gets under the tape, so just give that a rinse before you dry the lenses and apply the final UV gloss-coating. Keeps things neat and clean around the lenses. 4) As for the gloss-coating: you really can be very generous applying it to the provided blue-cloth. I was a tiny bit stingy on the first headlight, fearing I might not have enough product for the second headlight. Don't worry ... you'll have plenty of UV product left over when you're done. I'd really soak the entire blue-rag well, and apply generously. I can see a *very* tiny difference between the first headlight I did (where I was more stingy applying the UV gloss-coating) and the second (where I was more generous). It's so slight you'd never see it. Just rest assured that you'll have plenty of UV gloss by the end of the project, as it spreads evenly, smoothly, and well—so be generous in applying it. The best part? If I get any haze again, this was probably the easiest headlight-repair imaginable. I'll just do it again! And I saved about $700 to boot. You just need to set aside the time to do each step well and carefully. It took me perhaps an hour and a half from start to finish (and I was moving slowly and carefully), with some time thereafter cleaning up and just standing around to ensure no falling autumn leaves fell on the UV gloss while it was still wet. Just went to check on the headlights, and they're completely dry to the touch, and very smooth and glossy. This is a terrific product! Easy to use, great instructions, and a really fine result. I look forward to seeing the longevity of the product.
R**N
Like-new results...
The instructions are thorough, understandable, and easy to follow. The entire sanding + sealant procedure took about four hours, total, for me; your time may be shorter because I took additional time sanding before applying the sealant/UV overcoat. The process is pretty easy: mask with painter's tape, sand, polish, and seal. I have no photos attached because I worked in a garage and my before/after photos were lousy. But, the net result was fantastic: like new, mirror finish. Overnight to cure the coating, then washed, waxed, and vacuumed the car to match the renewed headlamps. Result: 'a new car'. It looks really good. Following the suggestion of other reviewers, I used 3000-, 5000-, and 7000-grit paper (not included) for polishing beyond the 400-, 1000-, and 2000-grit papers provided in the kit. The net result was a finish that was almost clear even before applying the overcoat. I was extremely happy with the end result. Here is the 3000/5000/7000 kit I used; I highly recommend it, as well: AUSTOR 18-piece 3000/5000/7000 sanding paper (https://www.amazon.com/dp/B078HG5R8W?psc=1&ref=ppx_yo2ov_dt_b_product_details) My hints for great results. 1. Use water often and plentifully. Keep the sandpapers and the lenses wet, all the time. 2. Grab a roll of paper towels and wipe the lenses clean, often, while sanding. It really helps with the sanding and it keeps your work area cleaner. 3. Keep a bucket nearby to toss your paper towels into and to keep your used sandpapers semi-clean, if you want to reuse them. Toss the sandpapers on top of the paper towels; they will protect them from a dirt on the floor or ground. 4. Don't be afraid to go back to lower grit sandpaper to touch up an area that still look a little rough. My idea was to do the best I could before coating rather than hoping that the coating would cover any flaws. 5. Buy and use the 3000-grit sandpaper. The 5000-7000-grit might be overkill but I was impressed with the results using them . 6. Use a light-to-moderate touch when sanding. Take your time: sand, rinse, wipe, inspect, resume, repeat. 7. Make two passes with the brown polishing liquid. Use one-quarter of the polishing liquid for the first pass on each lens, rinse, wipe, rinse, wipe with a paper towel, and inspect. If it looks good, polish a second time with the rest of the liquid and the provided white cloth. Using a paper towel first will give you a good idea of how well you did your sanding before you use up all of your polishing liquid. When I finished with the sanding and polishing, wiping on the UV protecting sealant went on so smoothly. 8. I recommend using nitrile gloves to apply the sealant. They fit better and do a great job protecting your hands from the sealant. They are pretty cheap and have a hundred other uses around the house.
D**.
This is the third time these headlights have been restored. Wait, let me rephrase that. This is the third ATTEMPT to restore these headlights. The first time the dealer cleaned them up a bit so it would pass the bi annual safety inspection. It lasted almost one year. The second time I did it myself with another brand of restoration kit. It got them clear enough to pass another safety inspection but I wasn't very pleased with the result. This time I did some more research and found this Sylvania Headlight Restoration Kit. It was highly rated and Boy! were they right! As you can tell from the before, during and after photos I've included this kit really works. Except for a couple of pretty deep stone... um dents I'll call them because they're not really chips, the headlights are as good as new. I very definitely recommend this kit to anyone that wants to have headlights that shine like new without the expense of replacing them. Now, that being said, I have some advice. Follow the instructions! They are very clear and take you through the whole process step by step. Do not try to hurry through. If it says it should take about five minutes of sanding for this step then set a timer and sand for five minutes. When it says keep it wet, keep. it. wet. I used a garden hose with the nozzle set to a heavy mist and sprayed it every 10-15 seconds. This rinses away the slurry and cleans the sandpaper so that it keeps cutting. If you don't keep it wet the sandpaper will clog up and you will just be wasting your time and energy rubbing your headlight. When you get to the last step, the UV blocker, don't skimp on it. There is lots in the kit to do two large headlights. Don't rub it on in a circular pattern. Use straight strokes from one edge to the other. Don't rub it on back and forth. Start from one side and wipe to the far side, pick the cloth up and then make your next pass slightly overlapping the first. Continue until you have completely covered the lens and then STOP! DO NOT go back over it and DO NOT TOUCH it. Let it dry four to six hours. Now enjoy the fruits of your labour. Your brand new-looking headlights for nowhere near the price of new headlights.
A**M
Excellent product for DIY. It works as it claims, need to be very careful when applying clear coat, do not over apply.
T**R
By following the instructions, this kit really works. Though intended for 1 car, I think it can do 2 cars.
P**N
Works really well. Have restored headlights to nearly new looking. Can’t comment on durability as I have only just used it.
S**.
Clean like new and protected headlights from uv
Trustpilot
2 weeks ago
2 weeks ago