


🧼 Spin Your Way to Spotless Surfaces—Because Manual Scrubbing is So Last Decade!
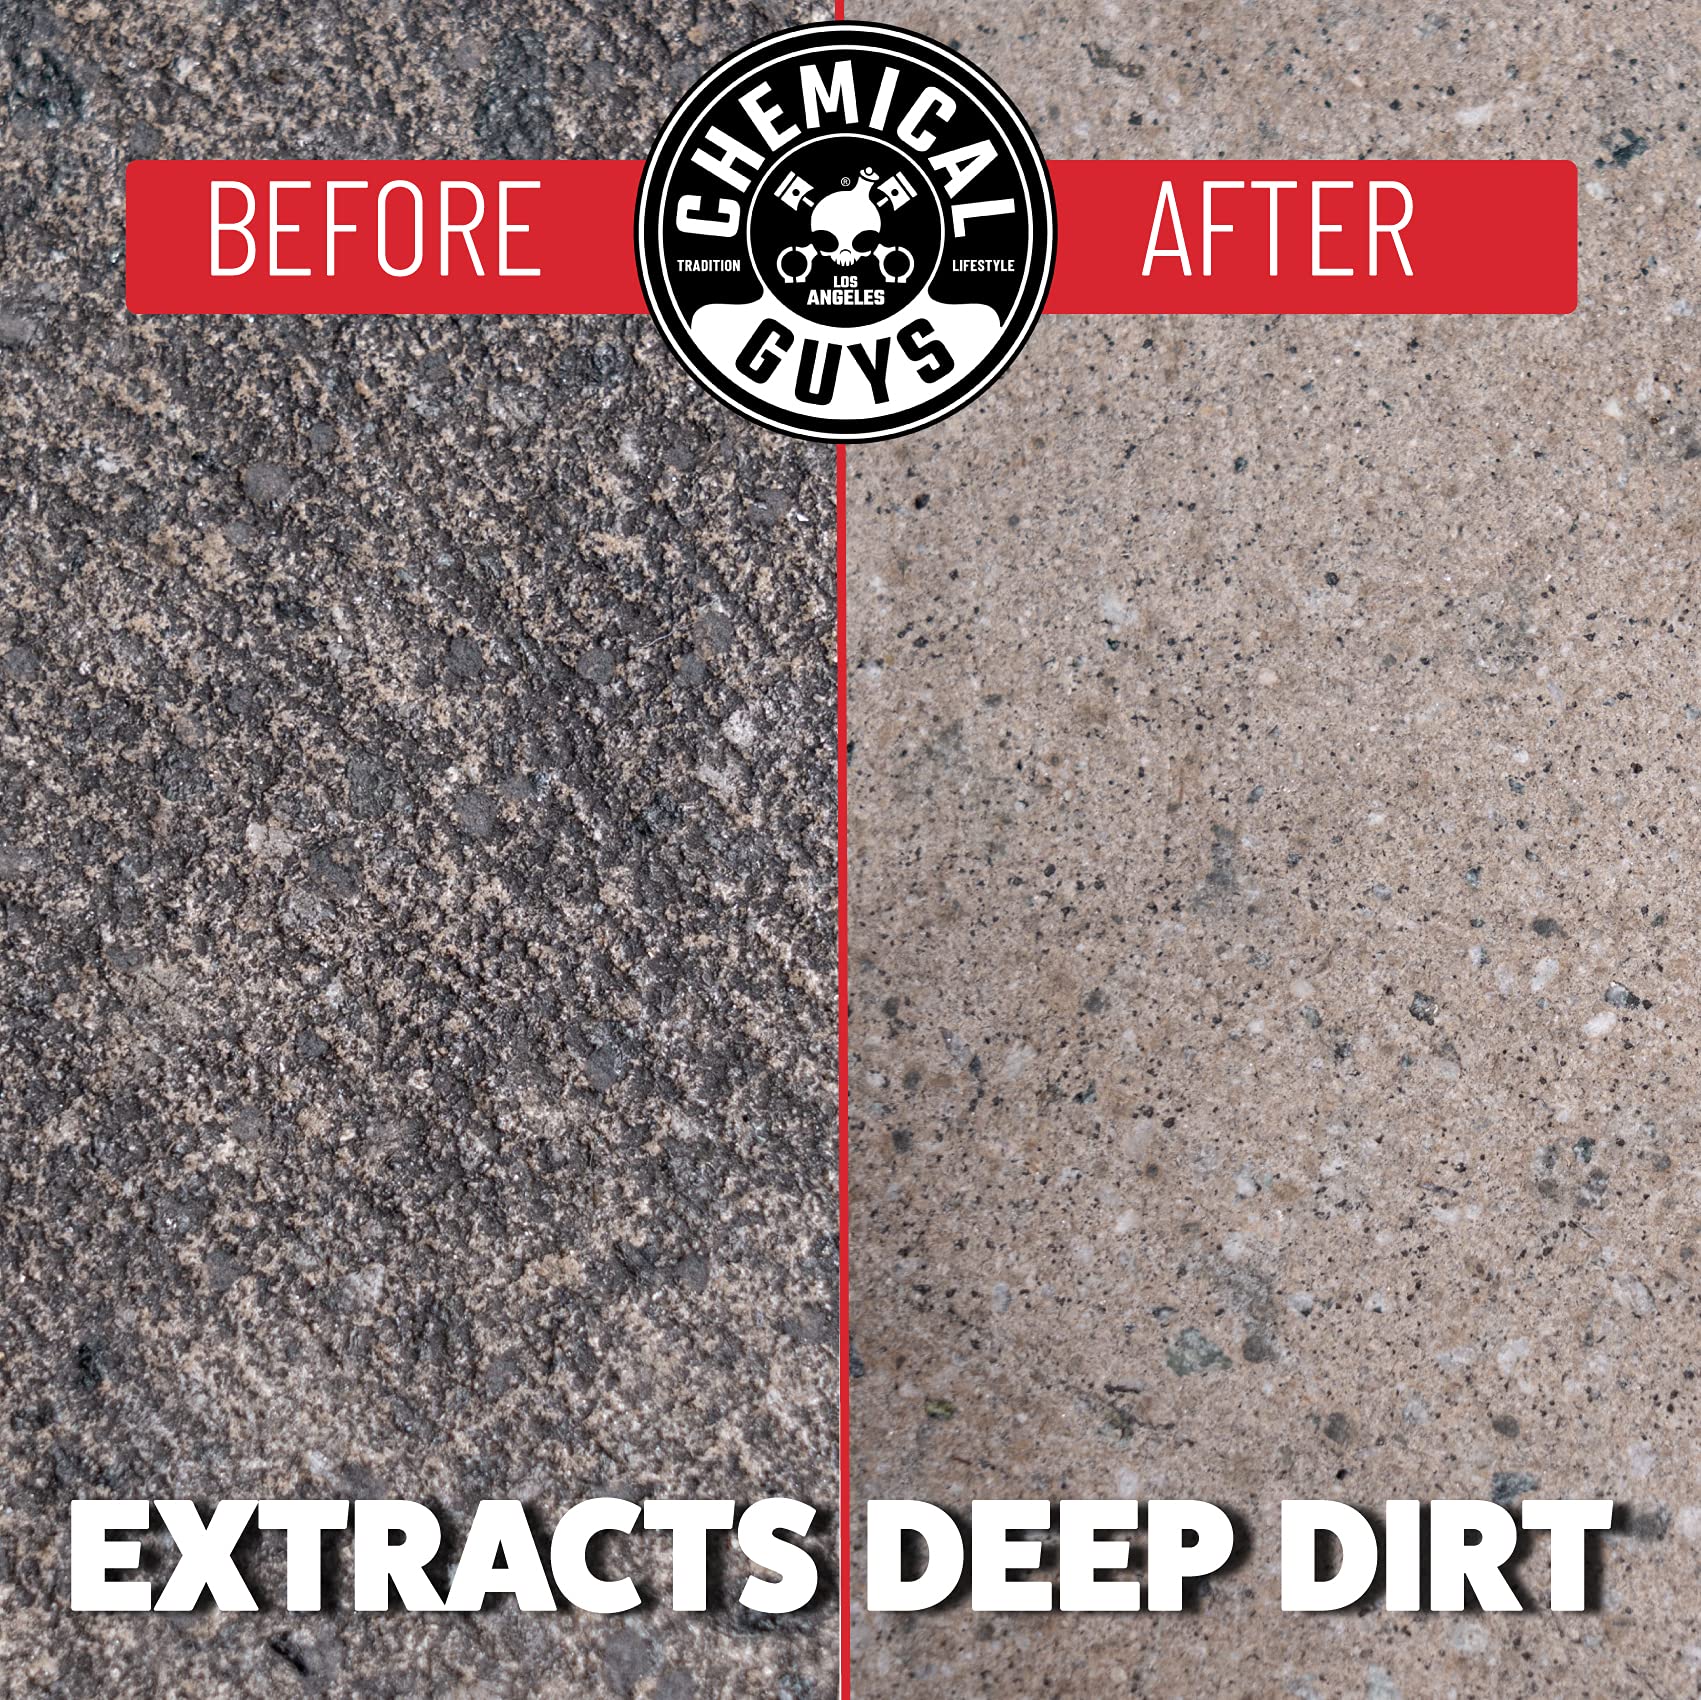
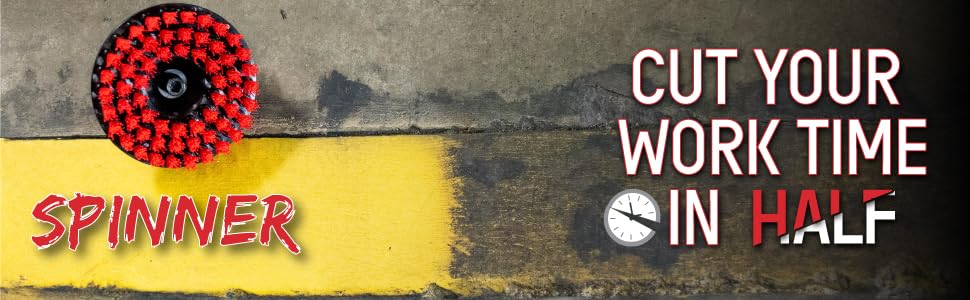
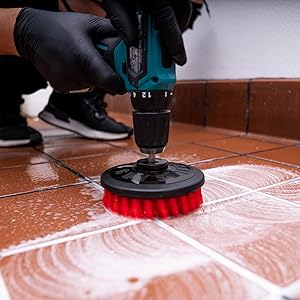
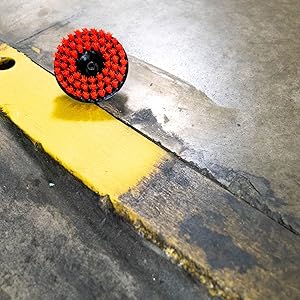
The Chemical Guys ACC508 Heavy Duty Spinner Drill Brush is a robust, reusable cleaning attachment designed to fit any standard drill. Featuring stiff nylon bristles and alloy steel construction, it delivers powerful, deep cleaning on multiple hard surfaces like grout, tiles, tubs, and concrete—making tough grime removal effortless and fast.


| Brand | Chemical Guys |
| Color | Red |
| Handle Material | Alloy Steel |
| Specific Uses For Product | Vehicle, Drill, Tile |
| Product Dimensions | 5"L x 3"W x 5"H |
| Material | Nylon |
| Special Feature | Reusable |
| Included Components | Spinner |
| Surface Recommendation | Tile, Grout |
| Number of Items | 1 |
| Item Firmness Description | Hard |
| Item Weight | 7.4 Ounces |
| Manufacturer | Chemical Guys |
| UPC | 842850107221 |
| Unit Count | 1.0 Count |
| Global Trade Identification Number | 00842850107221 |
| Model | Chemical Guys Heavy Duty Spinner Multi-Surface Drill Brush Attachment - Fits Any Standard Drill |
| Item Weight | 7.4 ounces |
| Item model number | ACC508 |
| Manufacturer Part Number | ACC508 |
| Special Features | Reusable |
J**.
Quality Upholstery Brush, makes cleaning a breeze
Nice brush, most are too stiff for upholstery but this one is just right. Also works well on carpet!
B**R
Great brush
After reading many reviews I decided to order the Revolver drill brush & Nylon Stiff Drill Powered Scrub Brush and this is a comparison between the two brushes. For the tests I used them both on a tiled shower, a ceramic cooktop and a bathroom sink. The cordless drills that I used were both 18 volt Milwaukee drills on low speed. I used different cleaning compounds on the surfaces but none were harsh chemicals as I was testing the brushes not the chemicals. The cooktop had some burned on stains and both the shower and the sink had some iron staining and calcium scale but not severe as I usually clean them with an acid to keep them clean.Without a doubt both brushes performed admirably but there were slight differences. The Revolver brush easily gets into corners because the bristles move outward with increased rpm (the stiff nylon does not) but the stiff nylon did a better job of scrubbing. When using the stiff nylon brush you should operate in both directions otherwise the bristles will gradually stay bent in the predominant direction. Both brushes removed the iron staining fairly easily but had more difficulty with the calcium (lime). I could see that I was removing some grout (by the color) so I would suggest you not scrub too hard. The use of harsher chemicals is probably a better choice rather than the heavy handed approach.I was pleasantly surprised how well the brushes did on the cooktop. Here the stiff nylon brush worked better in the burnt on (I thought forever) stains. They both worked but the stiff brush was faster. Once I completed the cleanup and buffed the stovetop it looked like new once again.
S**U
Just works
Worked incredibly well on a nasty bathtub.
R**Z
Not The Soap Scum Blasting Miracle I Was Hoping For BUT Still Works Great And Saved Me Lots Of Time And Elbow Grease!
Was going back and forth between a 4 and a 5 star review and would've done 4.5 stars if possible.Bought this to clean our shower which had quite a lot of soap scum and hard water deposits. Had tried to use cleaner with a similar bristled but brush with a handle and talk about a workout! Not only that, it was a lot of effort for not much return.I used this round brush with some comet soft cleanser scratch free formula with bleach. Oh, important note, I had a little foresight and put on old clothes that I wouldn't mind getting dirty or trashed as I knew this brush could spray cleaner if not careful. I also used eye protection and would recommend the same.So I concentrated on one spot with a little cleaner on it and it wasn't the WOW I was looking for BUT it was much cleaner the the rest. But still to do a whole shower with just this might take quite a bit of time.So I had read about using easy off oven cleaner (fume free). I sprayed that on the shower floor and turned on the bathroom vent and let it sit for about 10 to 15 minutes. I then used a scotch brite scrub sponge to wipe it down. (I used the that instead of this drill brush because the oven cleaner was a bit more "wet" and I didn't want to spray oven cleaner all over the place.Anyway, that cleaner was VERY effective. I was left with a shower basin that was pretty clean in some spots but still a bit gray in other spots. After rinsing the cleaner down the drain. I then when in with this drill brush and the comet cream cleanser and did the entire basin again. This time the whole basin was white again and the shower almost looked new! This drill brush really did save me a lot of time over a hand brush.I then used it on the soap scum on the glass and walls and it works pretty good but honestly for the glass and walls, those mr. clean magic erasers work best for that. They start falling apart but they're pretty cheap and again work very well on shower glass and walls. But if you have a lot of soap scum on the walls and/or glass, it might be better to go over it with this drill brush first and then finish off with the magic eraser.Bottom line: While this didn't have the blast off the soap scum effect I was hoping for, I'm still happy I bought it as it does work way better than an regular hand brush and saved me a lot of time and elbow grease. Also the bristles don't seem much worse for the wear after this first use. I am expecting it to last for quite a while.
C**A
Perfect for terrazzo shower stall floor stains!
So our bathroom had an old terrazzo shower stall floor circa the 70s. Everyone will tell you you shouldn't use bleach products on this. Everyone will also tell you not to use abrasives. But it looked terrible! I tried to contact different terrazzo companies. Nobody wanted to do such a small job. I found YouTube's on the repair of the shower stall terrazzo floors. These repairs looked incredibly specialized with a narrow margin of error. Some local handyman offered to do the repair. But they really didn't seem to understand the things that could go wrong and what was necessary to properly work on the Terrazzo shower stall. And they wanted between 300 and $500! So I decided either I would have to rip up my freshly updated bathroom and put in the new terrazzo shower stall floor or take a shot at cleaning stains myself. I tried Brillo pads. It didn't work I try Dobie pads it didn't work. I tried scrubbing over and over with abrasives. It didn't work. I even tried soaking the floor with a bleach solution. It didn't work. I tried all of the shower spray bottle items with bleach in it. They didn't work. And I thought "too bad there is no scrub brush I could put on my drill and use it with some comet". My thought was that if I ruined the terrazzo shower stall floor it was no loss. I had to replace it anyway. So understanding that there was a potential risk involved here is what I did; 1) wet the shower stall floor and sprinkled a light layer of comet. 2) I attached do you read brush to my cordless drill. 3) I turned the drill on the highest speed possible and lightly used it on the surface of the Terrazzo shower stall floor. I did not push hard because it was not my goal to remove the Portland cement between the flakes of marble. My goal was to evenly and smoothly remove the stain on the surface. I think the key to the success was to use to drill very lightly but for a decent period of time maybe 20 or 30 seconds in one position before moving on. The results? It couldn't have worked better! The brown stains were gone! No little chunks of the Portland cement came out at all. The floor looks bright and clean now. It looks better than it ever has! I'm sure now all the Terrazzo shower stall repair man will come out of the woodwork and disagree with my cheap and easy repair a message but the bottom line is this I couldn't get any of these guys to do it for a decent price. I did it for under 20 bucks and it looks great! It's been a couple of weeks since I've done the repair and there are no Ellie fax. Basically for 20 bucks I repaired the shower stall floor and save myself between 300 and $500 or even worse, the cost of ripping out the shower stall and putting in a new one.One more time – use it lately on the surface don't push down hard so you don't damage the floor the results will be fantastic!
Trustpilot
1 month ago
1 week ago