
Desertcart purchases this item on your behalf and handles shipping, customs, and support to Argentina.
🐾 Tough on pets, easy on you — screen smarter, live better!
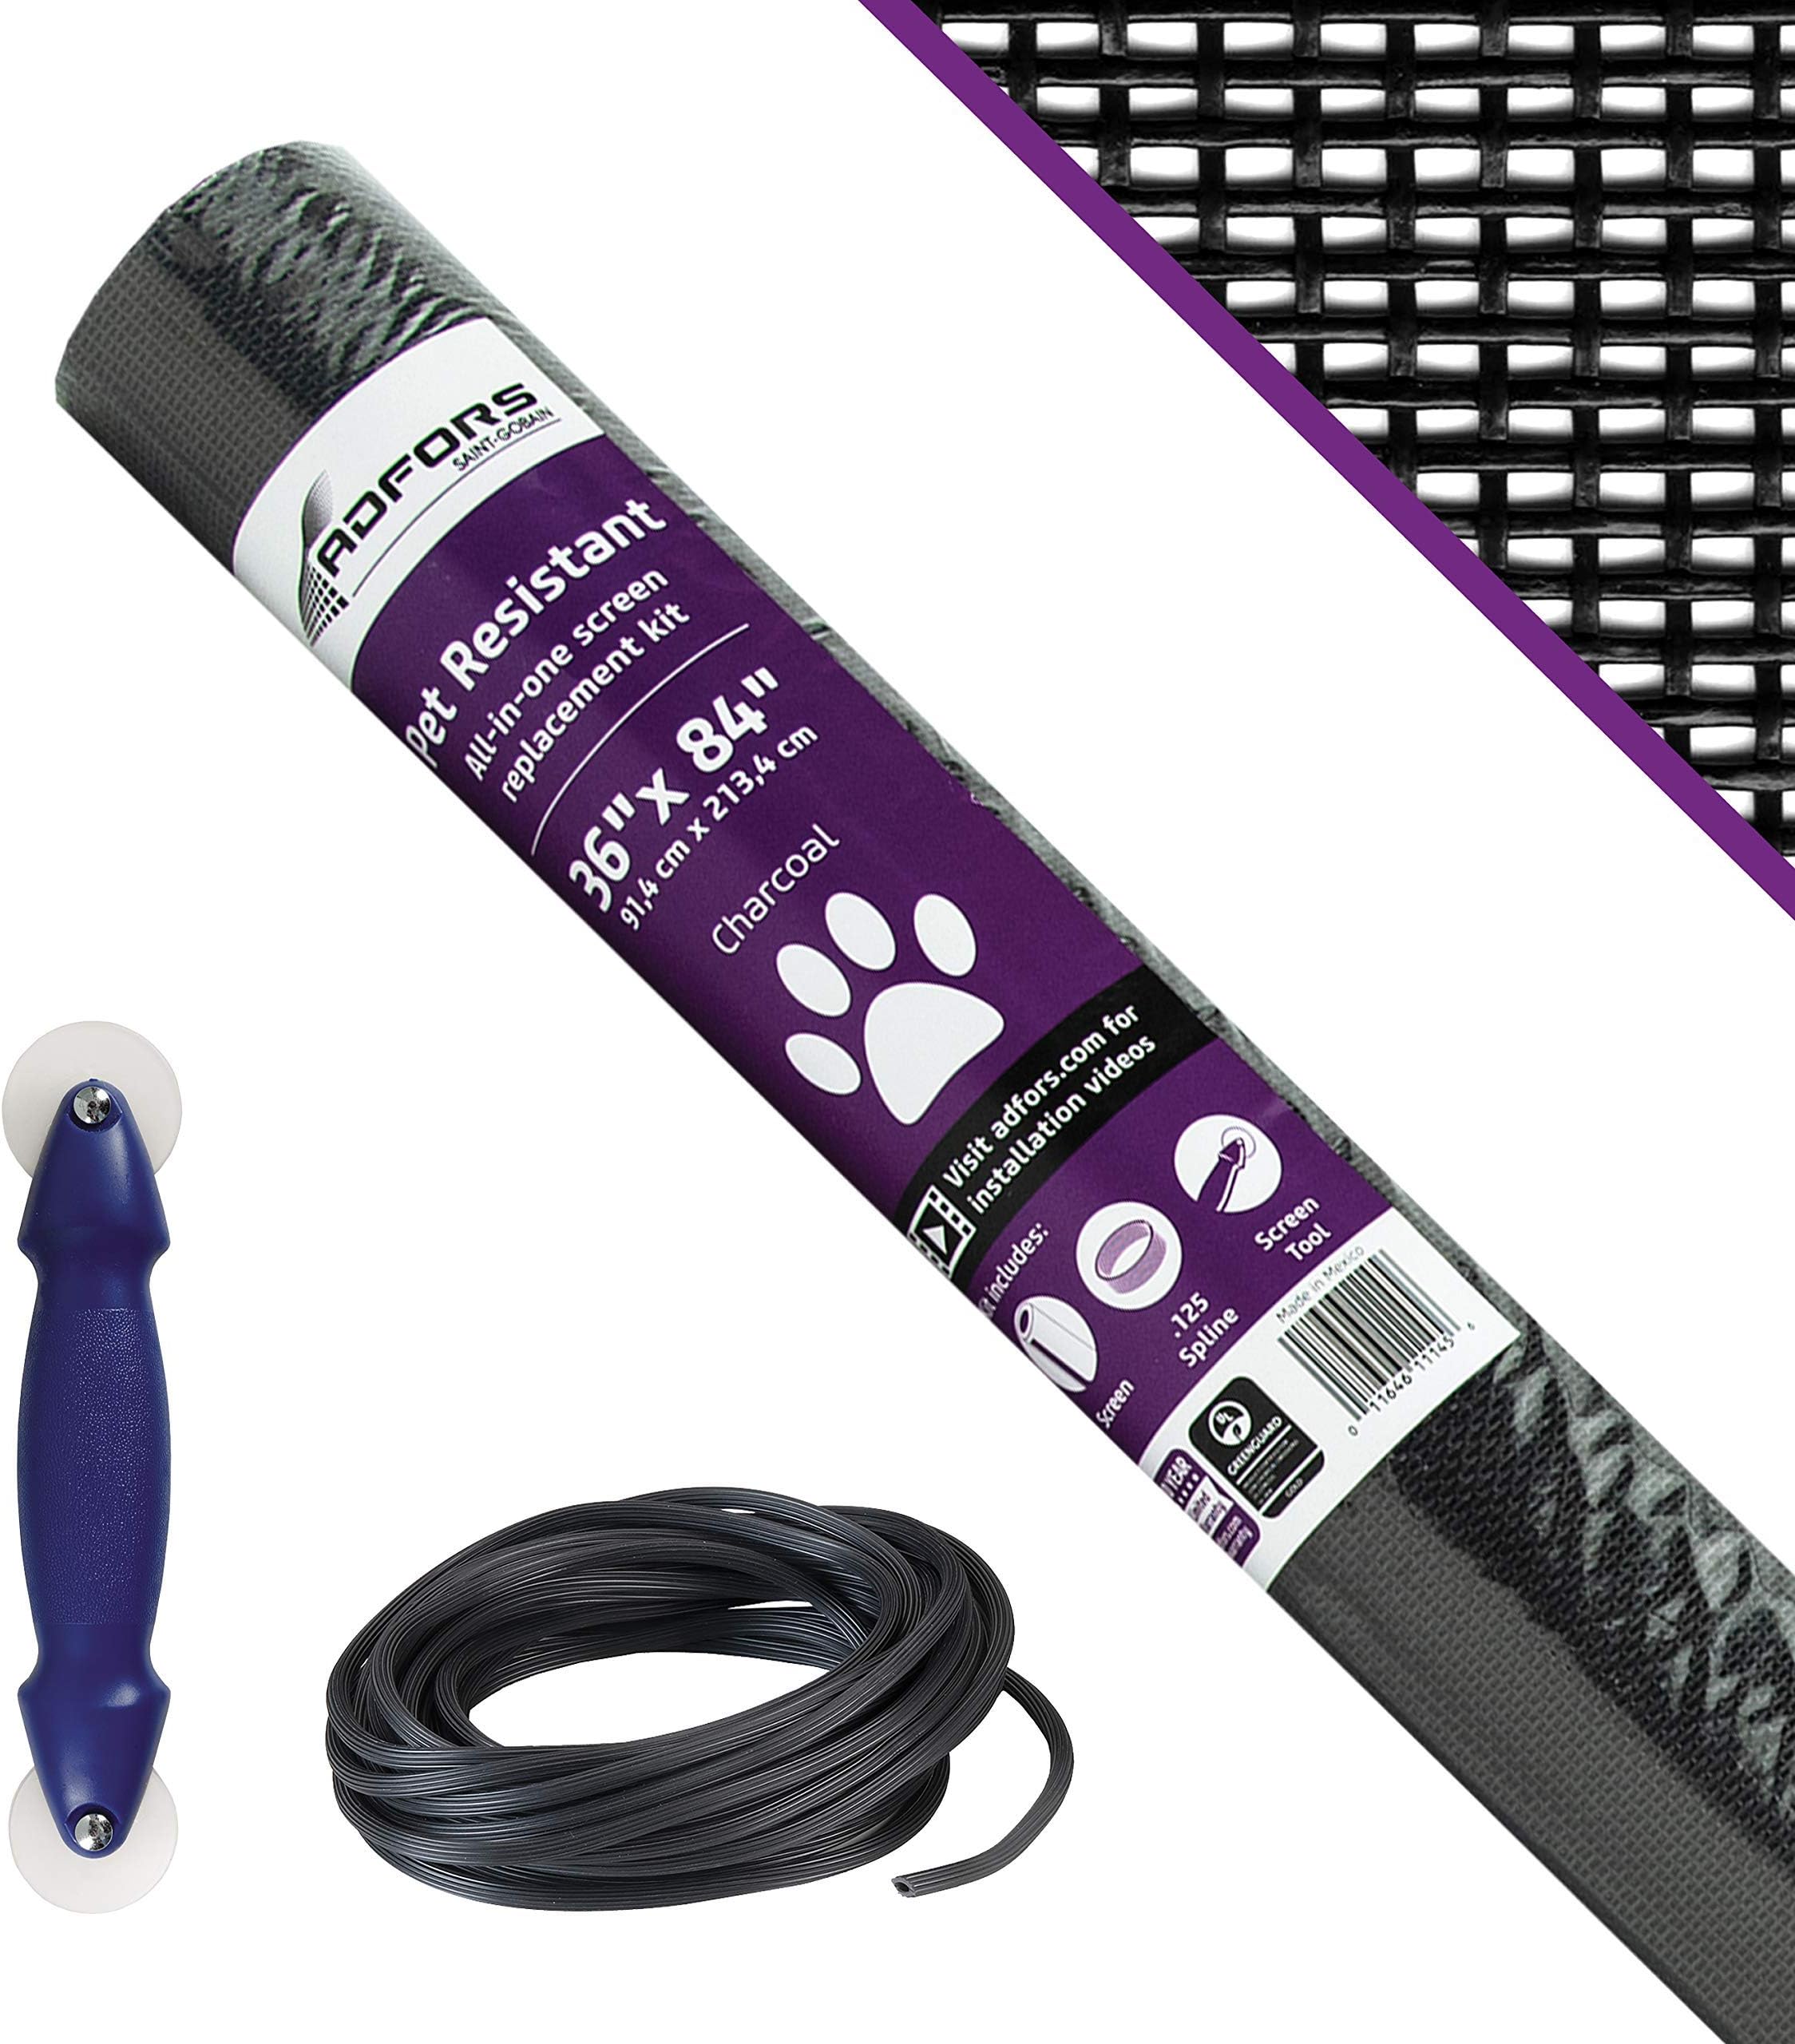
The Saint-Gobain ADFORS Pet-Resistant Door & Window Screen Repair Kit features a durable, tear-resistant polyester mesh designed to withstand damage from pets. It includes a spline and rolling tool for easy DIY installation, and its unique flame-resistant coating enhances home safety. Certified GREENGUARD Gold and free from harmful ortho-phthalates, this 36x84 inch charcoal screen fits most doors and windows, offering a smart, eco-friendly upgrade for pet owners.


| Manufacturer | New York Wire |
| Part number | FCS10184-M |
| Item Weight | 975 g |
| Product Dimensions | 10.16 x 11.43 x 91.44 cm; 975 g |
| Item model number | FCS10184-M |
| Size | 84 in.x 36 in. |
| Color | Charcoal |
| Material | Polyester |
| Item Package Quantity | 1 |
| Included components | Pet Resistant screen (1), Spline (1), Spline Tool (1) |
| Batteries Included? | No |
| Batteries Required? | No |
K**R
Srong Material
Very easy to work with and material seems to be dog resistant. I have 2 dogs a German Shepard and Husky. The screen has only been installed a week. No damage has been done to it yet. Very happy with this product and the price is reasonable.
S**M
Great product
Worked out perfectly for our sliding screen door. Super easy to install and tough enough for daily wear and tear.
P**I
Easy peasy even for a novice
Very easy to install for someone who has never done it before. Everything you need is in the box. The most difficult part was figuring out how to take the screen door out of the patio door to lay it on the ground. I have a small dog that had shredded the bottom of the old steel screen and wanted something more resilient. This one is a very strong polyester that had no damage from my stress tests attempts tugging and trying to rip it. I was worried it would block the view because it’s black but the view is actually less obstructed than with the old greyish screen. As I said I’ve never done this before so there is one small pucker in the screen edge but other than that it looks good. Expect to spend about 45 minutes from start to finish if you’ve never done it before.
M**T
Very thick and durable
Very strong replacement screen was a little hard to install because it’s so thick but worth the effort. The occasional dog hit with her paw does no damage at all I expect a very long life for it.
8**6
Difficult to install at first but gets easier
PROS: This combo kit was less expensive than getting the screen, spline tool, and spline separately. The screen is strong. Cutting the excess off was easier than I thought. CONS: Like others have said, jamming the spline in the track is a bit difficult.*** Due to the thickness of the screen, visibility is slightly reduced and the outside world looks a bit darker. It wasn't as bad as I thought though. ***My technique: I laid the screen on top of the empty frame. There was about 3-4 inches of excess screen overhang. At first I tried to completely set the spline into the track starting at the end and proceeded inch by inch. This was very difficult and I almost gave up after seeing how long this was going to take. Instead, with my left hand I held about 5 inches of the spline over the track and held the screen in place with the same hand. With my right hand I took the spline tool and ran it over the same (2') area of spline in a zig-zag motion, back and forth on the same spot, like your cutting a piece of steak. The spline would then gradually start to sink into the track. This went much quicker. I used a flat-head screw driver to get the spline in the corners. It took about 25-30 minutes to complete the process. I used a utility knife with a fresh blade and ran it along the track on an angle right above the spline. One positive thing about the spline being so difficult to get into the track is that the screen is held very securely and will take a lot to pop out. Be sure to: Gauge that the screen installs straight. It's easy to get the screen to install on an angle. Some backtracking might be necessary. Don't worry about a loose floppy screen until you get to the 3rd side. You can then keep the screen taught while inserting the spline. Mine's as tight as a tiger. Watch your finger as you are inserting the spline. The spline tool can easily slip off the spline and run into your hand. The spline tool has different ends. One side has a concave disc which helps in keeping it on the spline. I used the other end when I was all done to go around the screen and make sure the spline was fully set around the whole thing.
Trustpilot
1 week ago
2 days ago