Description
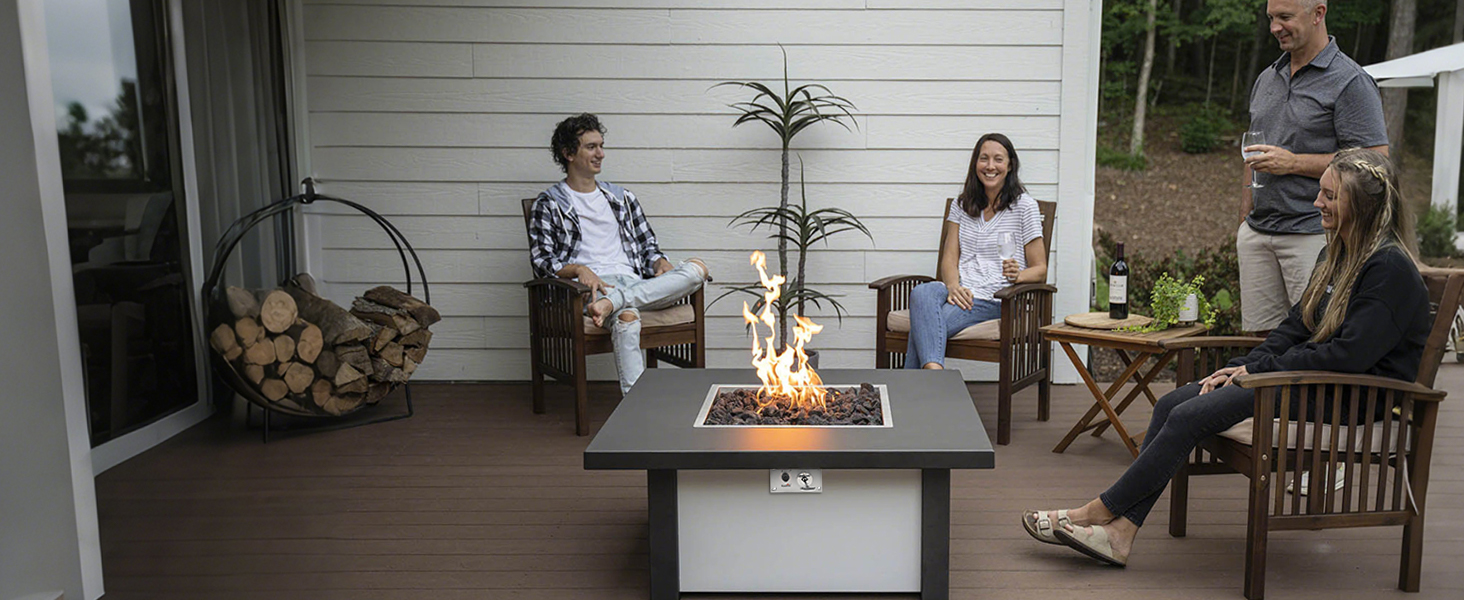
🔥 Ignite your outdoor vibe with a push—safety and style in one kit!
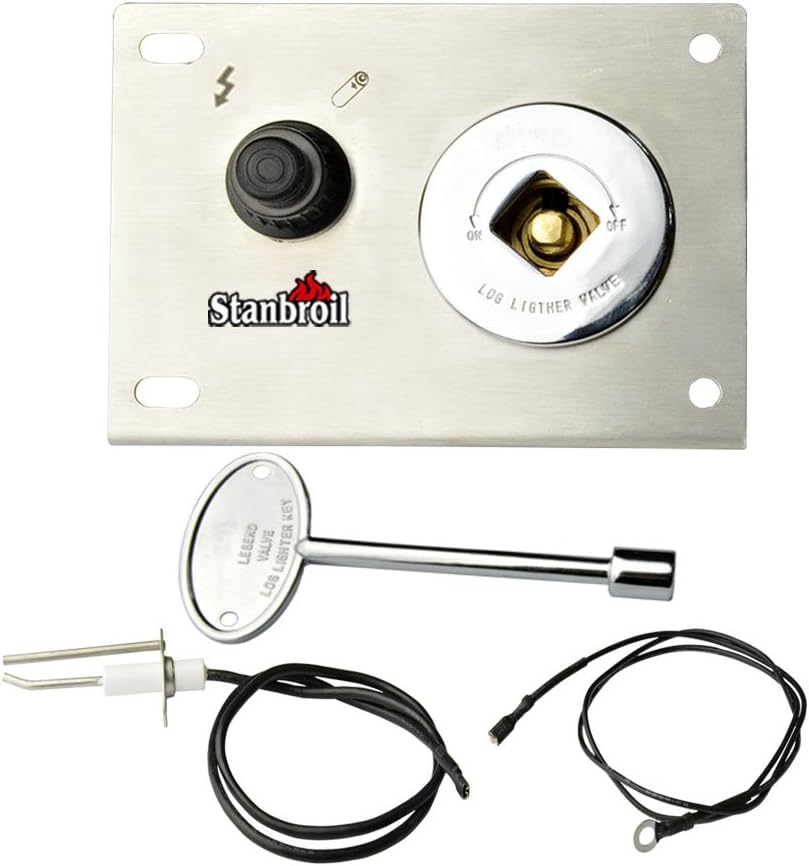
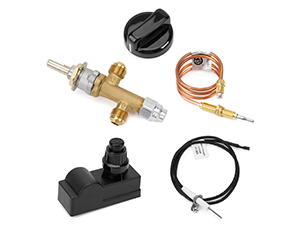
- SECURE GAS CONTROL - Chrome ball valve with keyed shut-off for ultimate safety and peace of mind.
- EFFORTLESS IGNITION - Transform your fire pit with a reliable push-button spark—no more matches or lighters.
- OPTIMIZED SAFETY DESIGN - Ground wire and installation tips included to guarantee consistent sparks and prevent ignition failures.
- DIY FRIENDLY INSTALLATION - Comes with all necessary fittings and 48" wires for easy setup—perfect for the hands-on millennial manager.
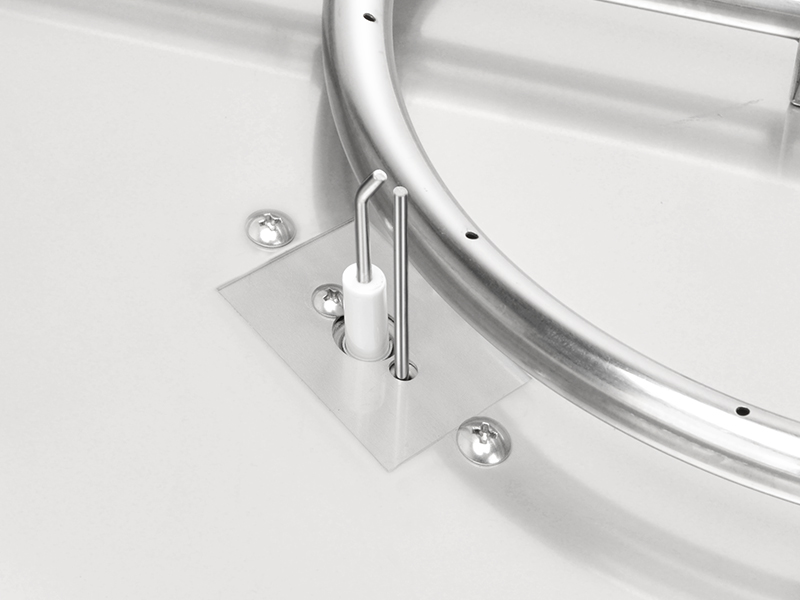
- DURABLE STAINLESS STEEL BUILD - Sleek, corrosion-resistant mounting plate ensures a professional finish and long-lasting performance.
The Stanbroil Fire Pit Gas Burner Spark Ignition Kit upgrades manual fire pits with a push-button spark igniter, featuring a stainless steel mounting plate and a chrome keyed shut-off valve. Designed for easy DIY installation with included fittings and 48" wiring, it ensures reliable ignition and enhanced safety for modern outdoor living spaces.