Desertcart purchases this item on your behalf and handles shipping, customs, and support to Argentina.
💡 Connect. Bend. Illuminate. Your lighting, your rules.
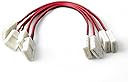
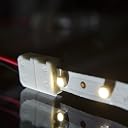
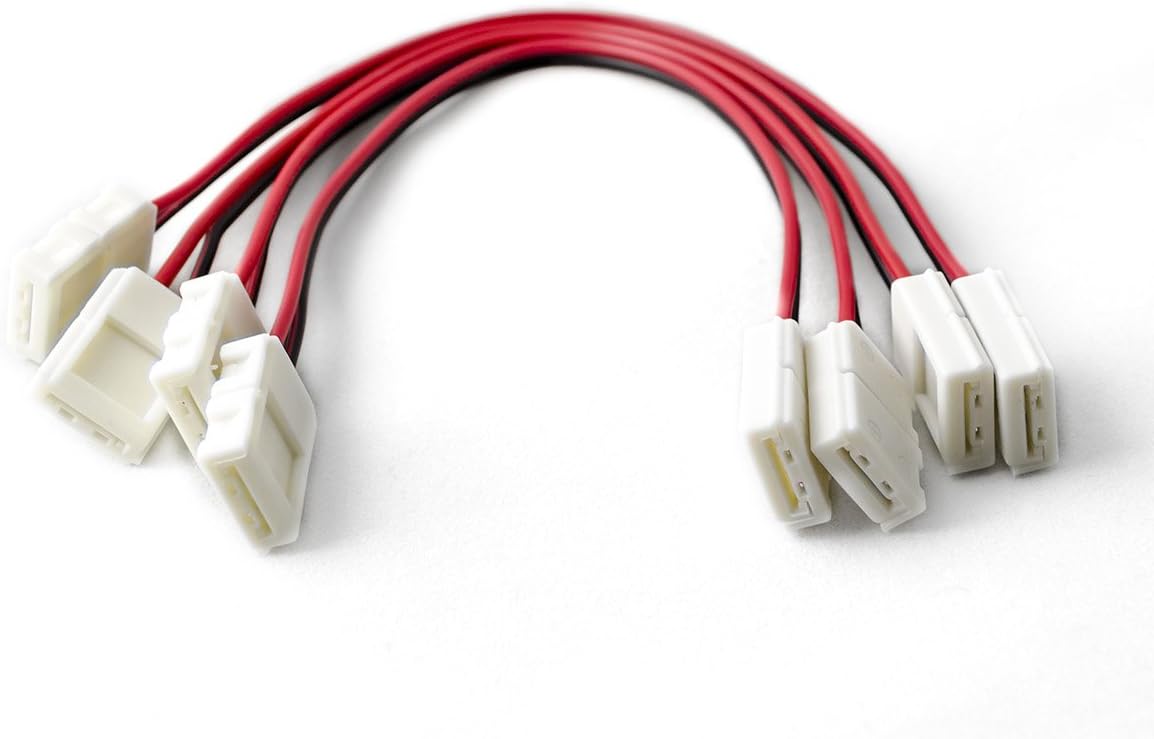
HitLights LED Light Strip Connectors offer a solderless, tool-free solution to connect and bend 8mm single-color LED strips at any angle up to 90°. Compatible with both 12V and 24V systems, these 6-inch connectors come in a 4-pack, enabling seamless extension and customization of your lighting projects with professional-grade reliability.


| Asin | B0062RBR84 |
| Best Sellers Rank | #15,772 in Tools & Home Improvement (See Top 100 in Tools & Home Improvement) #5 in Track Lighting Connectors |
| Brand Name | HitLights |
| Connector Type | 2pin 8mm |
| Customer Reviews | 4.2 4.2 out of 5 stars (1,219) 4.2 out of 5 stars |
| Global Trade Identification Number | 00610696797476 |
| Item Dimensions | 5.91 x 0.31 x 0.08 inches |
| Item Type Name | LED Lighting |
| Item Weight | 9.07 g |
| Manufacturer | HitLights |
| Manufacturer Contact Information | Made by HITlights: For questions about the product or product usage, please call (855) 768-4135 to contact the manufacturer. |
| Material Type | Plastic |
| Model | CON-08S-B00A-4PK |
| Number Of Items | 4 |
| Number Of Packs | 4 |
| Part Number | CON-08S-B00A-4PK |
| Recommended Uses For Product | Kitchen Cabinet Lighting, Bedroom Accent Lighting, Shelving Lighting, Ceiling Up Lighting, Display Lighting |
| Unit Count | 4 Count |
| Upc | 610696797476 |
| Warranty Description | Safety led connector. |
User
Great connector
With the mixed reviews, I was hesitant to buy this product. But the relatively low price and promise of easy connections was the deciding factor in giving it a chance. No directions were included (c'mon Hitlights!) but after reading many Amazon reviews and watching a few videos, I felt well prepared. I used 3 of the 4 connectors with a compatible Hitlights LED light strip, and each worked perfectly.Here are a few tips that might help:1. Be sure this connector is compatible with your strip. It seems some of the reviewers who rated low were using it for double-density or other incompatible LED strips.2. Each of the white clips of the connectors unsnap from their side and have a hinge on the other side. The LED strip is inserted into a channel, then the clips are folded back over and snapped closed.3. Make accurate, clean cuts exactly on the cut lines. You will have plenty of room for inserting into each connector.4. Pay attention to the polarity markings on both the LED strip and the connectors and match them up.5. DON'T remove the paper over the adhesive backing before you insert the strip into the connector. You would never get it seated all the way into the channel, and even if you did, it would probably result in a loose connection.6. When I inserted the strips into the channel, I had to push hard. And I mean really hard, to the point where I was worried the strip was going to bend. Just then, it slid right into the channel. So, don't be afraid to use some force.7. When you close up the connectors, press hard and be sure they snap closed.As I said, the 3 connectors I used worked perfectly and I have no reason to assume that the 4th would be any different. I thought about deducting a star because of the lack of directions, but as many included product directions are inferior to information and videos you find online anyway, stuck with 5 stars. Buy with confidence; you can do this!
User
They do the job adequately
I used these strip-to-strip connectors with "LED Strip light, Waterproof LED Flexible Light Strip, 12V, w/ 300 SMD LED" strips and they worked just fine. The little clip "doors" open pretty easily with either a micro-flathead screwdriver (like you use for eye-glasses) or just a box knife. Someone with fingernails could probably pop them open pretty easily, but I have big hands and cut my nails pretty close, so a tool was the only way for me.If you're using the waterproof LED strips, you'll have to peel away a bit of the silicone waterproof coating in order to expose the actual strip. Then you just slide the strip in the groove and make sure the tips in clip are making contact with the exposed parts of the strip. Also, you must be sure that all (-) and (+) match up, otherwise it will not work.I installed my strips as accent lighting for my newly remodeled deck, tucking them under the hand rail, oriented downward. Turned out pretty sweet and only cost me about $60 to do my entire deck with stairs. One thing I did to "stop" the strip at one spot and then "continue" them at a spot a bit further away was to cut the connector right in the middle of the wire, then splice the exposed part of the wire with some cheap "doorbell wire" I found at Home Depot. Then you can run the doorbell wire to your next start point and splice the other half of the connector in order to start your next strip. (Hard to explain with words, but it works well)
User
Work Great, with a few caveats
I bought these for connecting LED strips into custom built furniture. I use the strips to provide lighting under shelves, behind supports, or other areas. Typically these areas are not easily accessible, so the reliability of the connection was my overwhelming concern.=== The Good Stuff ===* The connectors seemed to make a reliable connection, at least at first. It sometimes took a bit of "futzing" to get a reliable connection especially when using "waterproof" LED strips, but mostly that was just a few seconds of removing the outer covering.* The wires are just long enough (about 4 inches) that I was able to cut them in half and use each half to connect a piece of LED strip to a power supply.=== The Not-So-Good Stuff ===* They come with absolutely no instructions. The proper method for hooking up LED strips is not 100% obvious, but there are enough online tutorials to help you out.* I was a bit concerned about the reliability of these devices, and still am. I don't have any specific concerns, but I couldn't tell what materials the connectors are made out of. Since these connections are typically buried inside furniture, and not easy to get at, I am very sensitive to reliability of connectors. As a result, I ended up doing things the old fashioned way, making direct solder connections to the LED strip.=== Summary ===These worked well, and are probably fine for 95% of uses. It might take a bit of work to understand how to use them correctly, but once you do, there should be no problems. If I didn't have an application where I never wanted to worry about the connections over time, I would have used these with no hesitation.
User
Easy to use
Easy to use and no issues.
User
Great connectors
Only had 1 error when I discovered under close inspection (old eyes) that there is a small channel to slip the LED strips into. I was at first trying to overlay the strip onto the connector and then trying to close the cover, which made getting a reliable electrical connection a hit or miss proposition. Instead I slid the strip into the C channel and at the same time, I used a tiny screw driver to pry the strip end up over the connector pads. This was all trial and error as no directions came with the connectors so I pass this on to you. Hear that HitLights....provide some directions and you might have a lot more happy customers!These connectors work great with the HitLights 600 Lite 3528 type LED's. On this strip, if you cut between the pads as indicated in the instructions, there is not enough surface area on the strip to insert into the connector to make an electrical connection. So instead, cut the strip right next to the LED SMD, thus leaving 4 pads to insert into the connector. You may end up sacrificing 3 LED's on the role for your next strip unless you don't have to daisy chain that end. This works reliably well every time. Have only had this working for a week so time will tell. If I have issues down the road with the electrical connection reliability, I will update my review.
User
Frustratingly difficult. Bad Connections
This review and comment applies to all of the HitLights connectors, especially also the right-angle connectors. These are EXTREMELY fiddly and difficult to get connected right. If you need one or two connections, maybe. But if you need a lot of connections, it will take forever to get them all working.Imagine trying to thread a needle. Now imagine that you are trying to thread two needles simultaneously. Now imagine the holes are too small. Now imagine that the thread is covered with glue. Also, the thread must protrude an exact amount within about a millimeter. Too long or too short is no good. This will give you an idea of trying to use these.If I could change one thing to make this easier it would be to make the LED tape stiffer so that it was easier to force it under the contacts.These difficulties were while hooking up lights on the bench. I can't imagine trying to do it while on a ladder, or on the bottom of a cabinet. I'm going to have to go back and solder my lights to make them reliable. It will be easier than hooking up all those connectors in the first place. I am experienced with electronics. Yes, I watched the HitLights how-to video. They're right that it is easier to make the connection if the backing paper is left in place. However, that is not always possible because of the order of construction. Considering the amount of good reviews for these products, I think something must have changed to make connections more difficult in later versions.
User
Success after a hard fought battle - READ FOR CRITICAL INSTALL TIP
The connectors work fine which merits 5 stars; however I deduct 2 stars for failure to provide directions.I divided a 16' HitLights LED strip into equal lengths to install above and below a mantle. I carefully read and compiled the installation tips included in the reviews and followed them to a "t". This included aligning the polarity (+ and - marks on strip and connectors and leaving the blue tape in place. Unfortunately, the connections failed ... repeatedly.I decided to start over by studying both the connector and the "cut" points on the LED strip. It was clear that installing the tape backwards in the connector to align polarity was not making the optimum connection. It was also clear that leaving the blue tape in place resulted in bunching of the tape further impairing contact.I made a fresh start by removing a 1/4" of blue tape and then aligning and inserting the tape into the connector face up with the - on the tape aligned with the + on the connector. (Doing this on both ends maintains polarity.) It snapped right into place. Now, the copper contacts on the tape are positioned directly under the silver contacts on the connector making a good, solid connection. Voila! No hit or miss with the points having the correctly penetrate and contact the wiring within the strip.
User
GREAT Product to Ease Strip Light Connections
These worked GREAT, as I used to connect three separate segments of cut-to-size strip lights to illuminate the inside of my gun safe. I’m not sure why others have posted complaints, but here are my assumptions. First, (note: this was not a problem with my connectors), but, for those who complained about the need to reverse polarity . . . gad, WIRE HAS NO POLARITY (i.e., beneath each red and black wire is an identical copper wire)! Sure, it’s always nice to have red wires match-up with positive terminals, but (functionally) it doesn’t matter if a black-colored wire is used to connect two red terminals (duh, it’s just a copper wire making the connection, regardless of what colored insulation covers it). Second, (again, not a problem with my connectors), for those who had difficulty making a firm / steady electrical connection between strip wire ends and connectors . . . my guess is you tried to place the strip light terminals (i.e., the small copper “dots” at the end of the strip light marked “+” and “-“) on top of the solid wire ends within the connectors - - - when you actually have to slide the strip light (dotted “+” and “-“) ends under them - - - so there is a wire to “dot” connection. Anyway, again, these worked great and considerably eased the installation of strip lights in my gun safe. I can’t imagine why anyone would not use these and instead apply solder.
Trustpilot
1 day ago
1 month ago