Descargar la aplicación


Servicios al cliente
Sobre nosotros
Copyright © 2025 Desertcart Holdings Limited
Descargar la aplicación
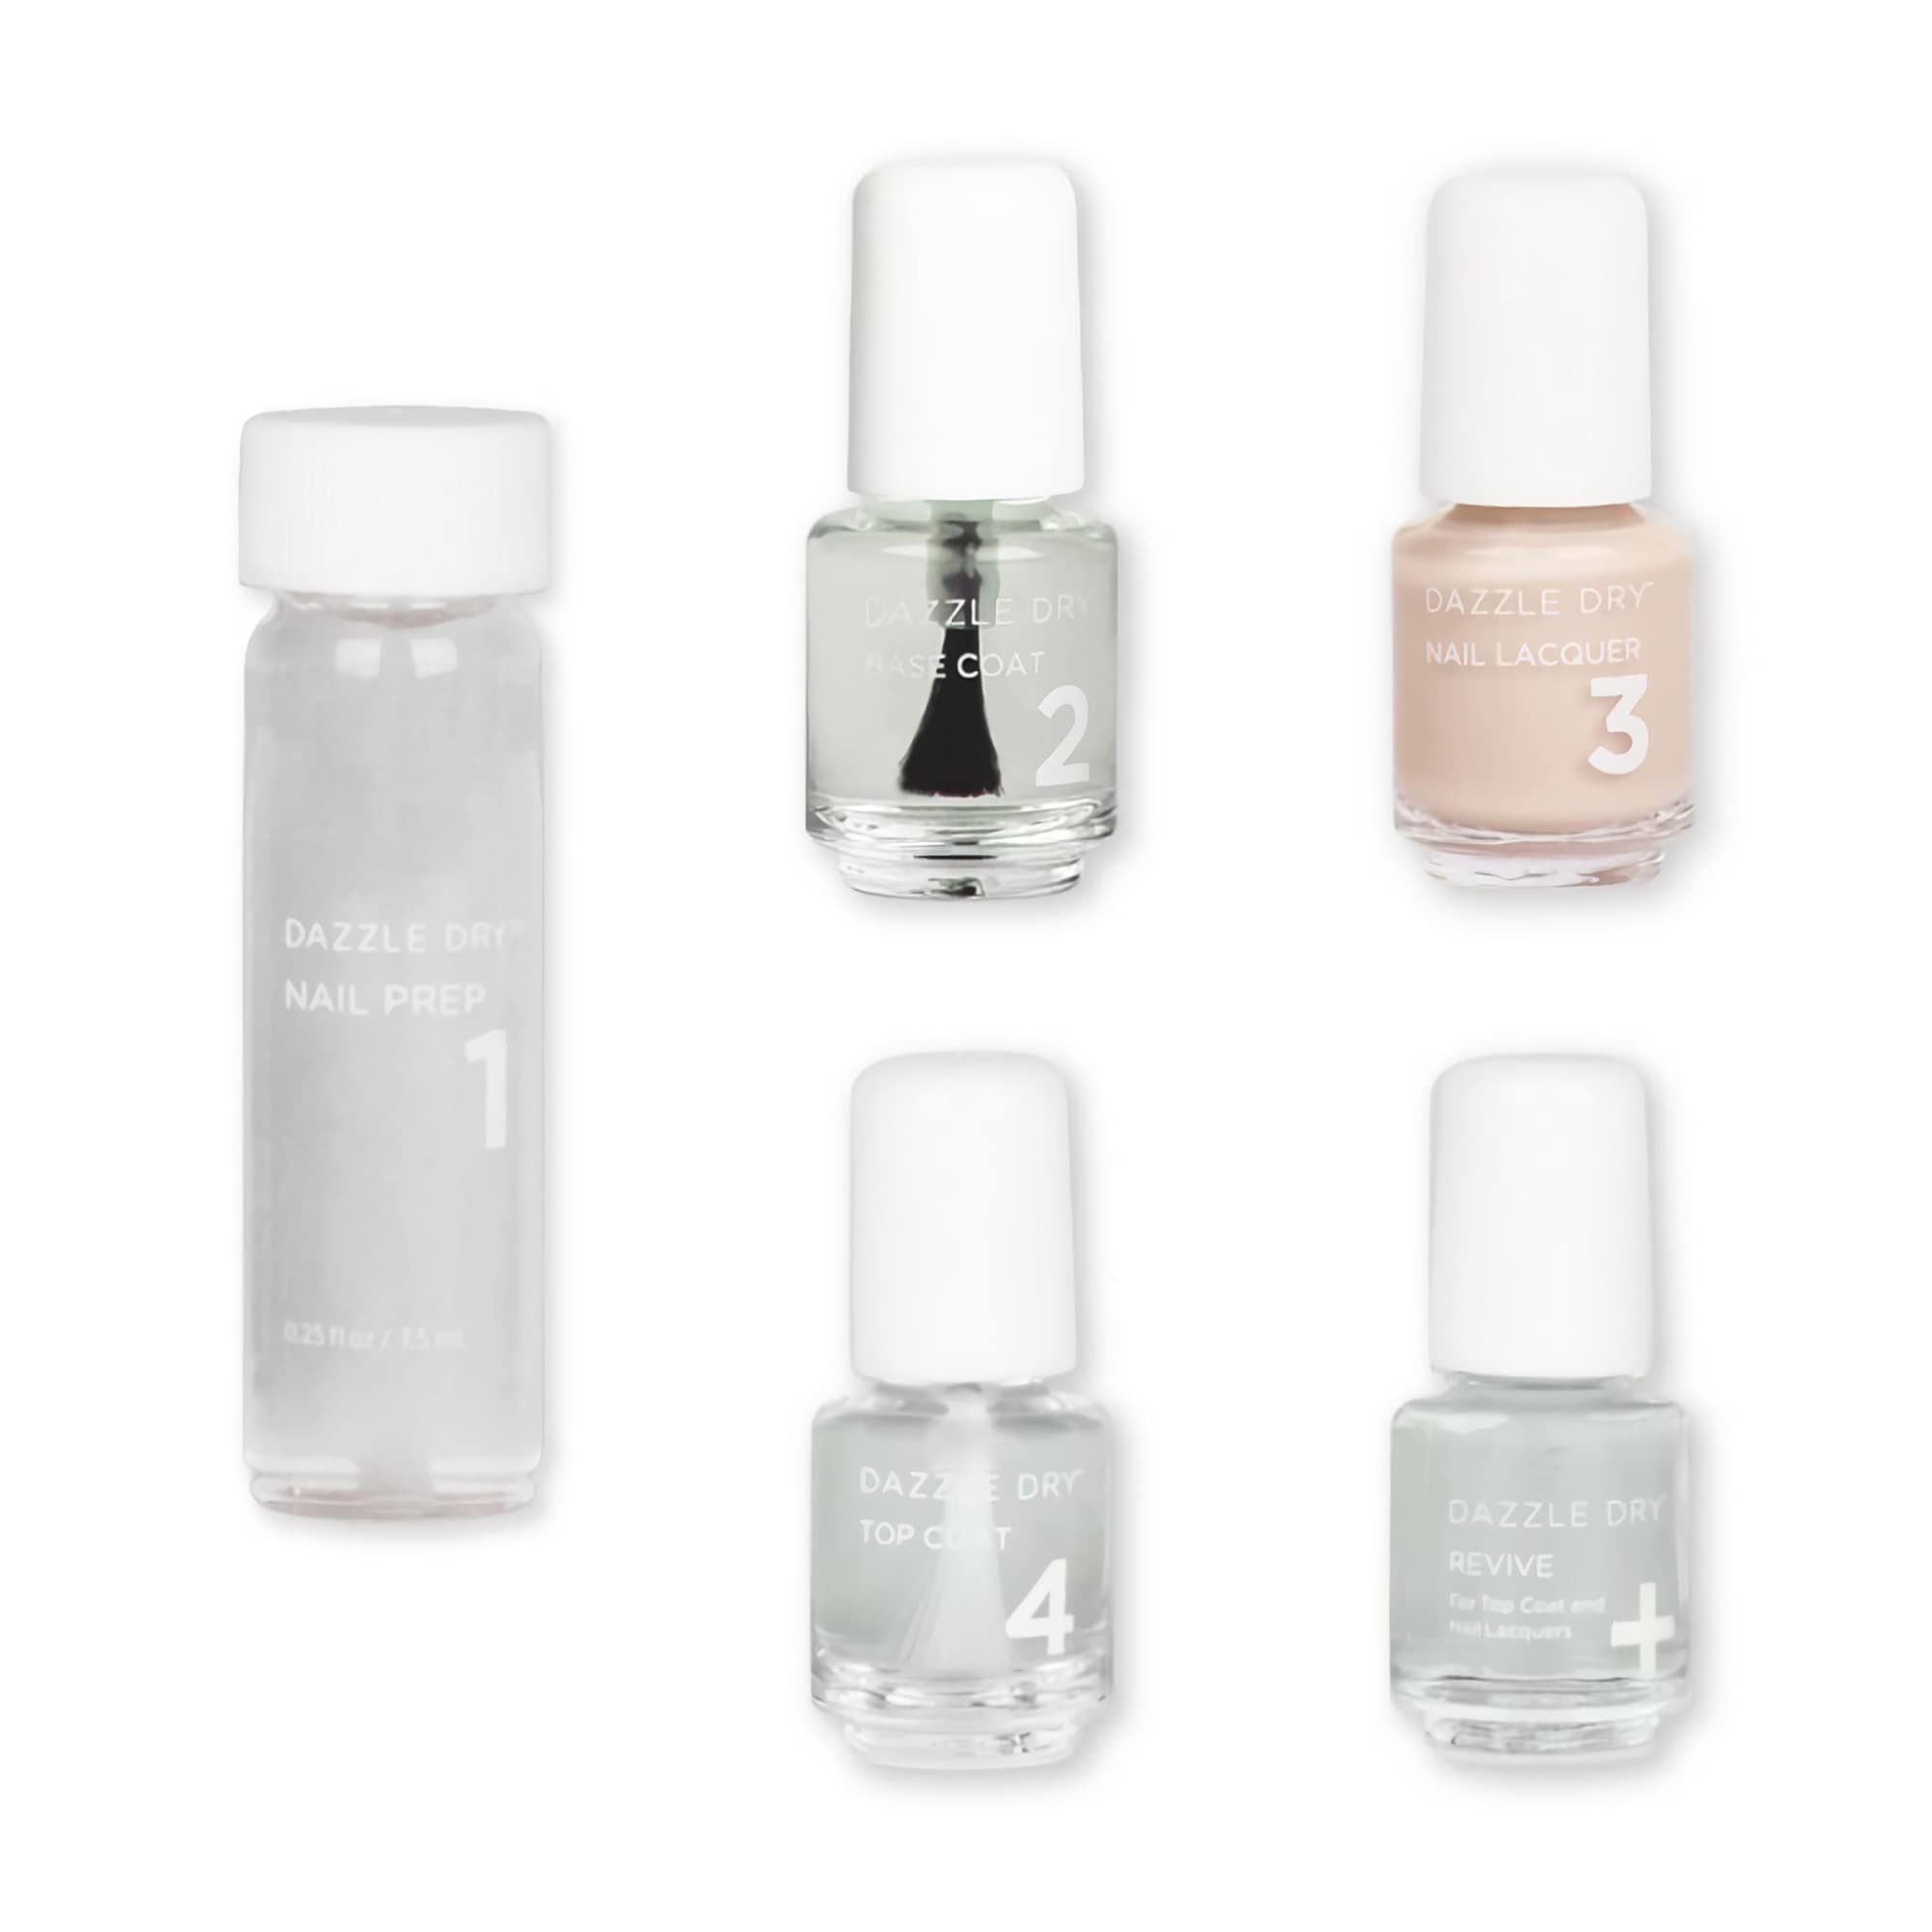


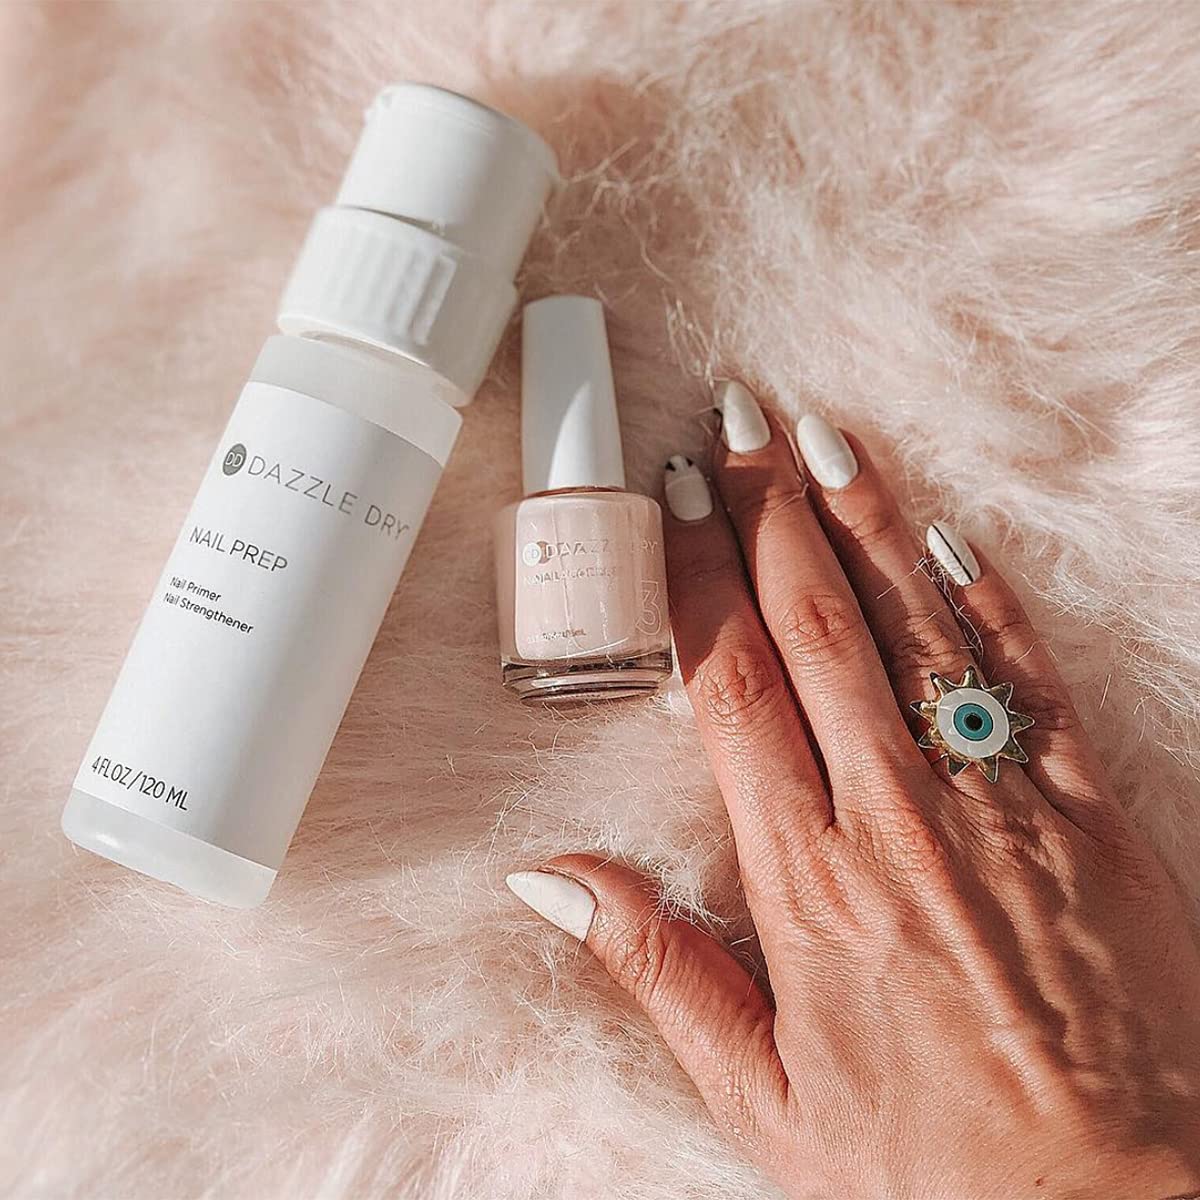
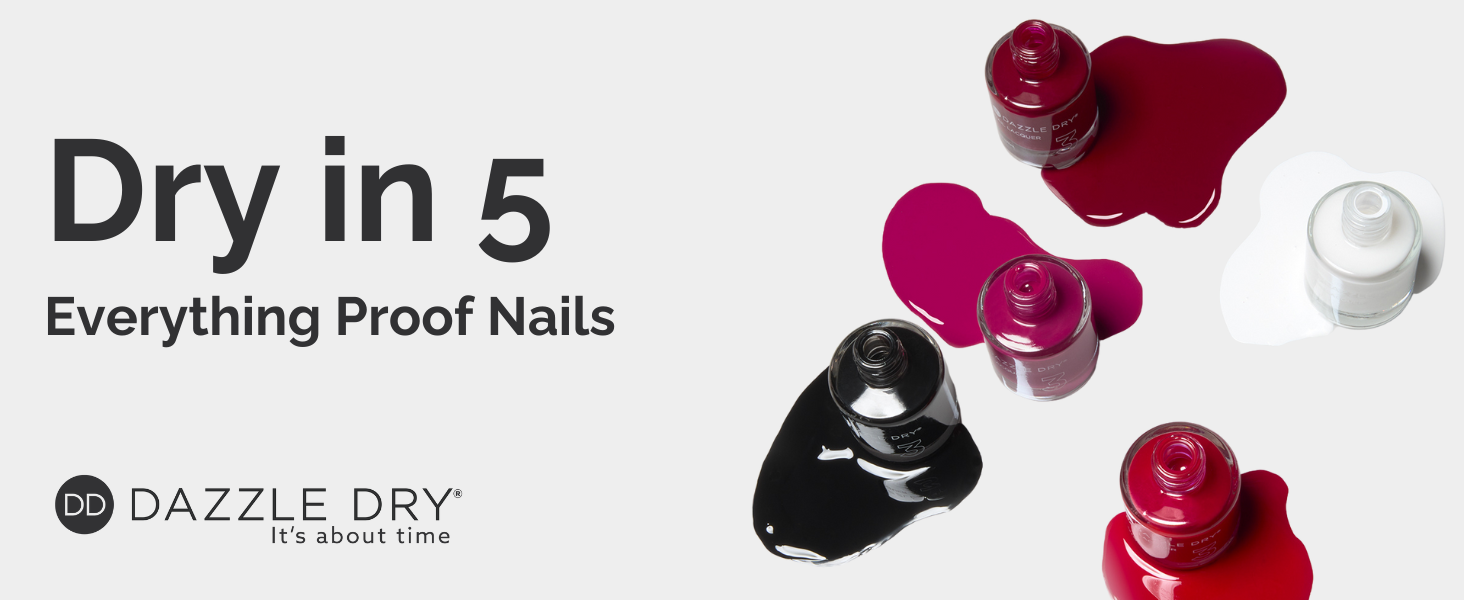
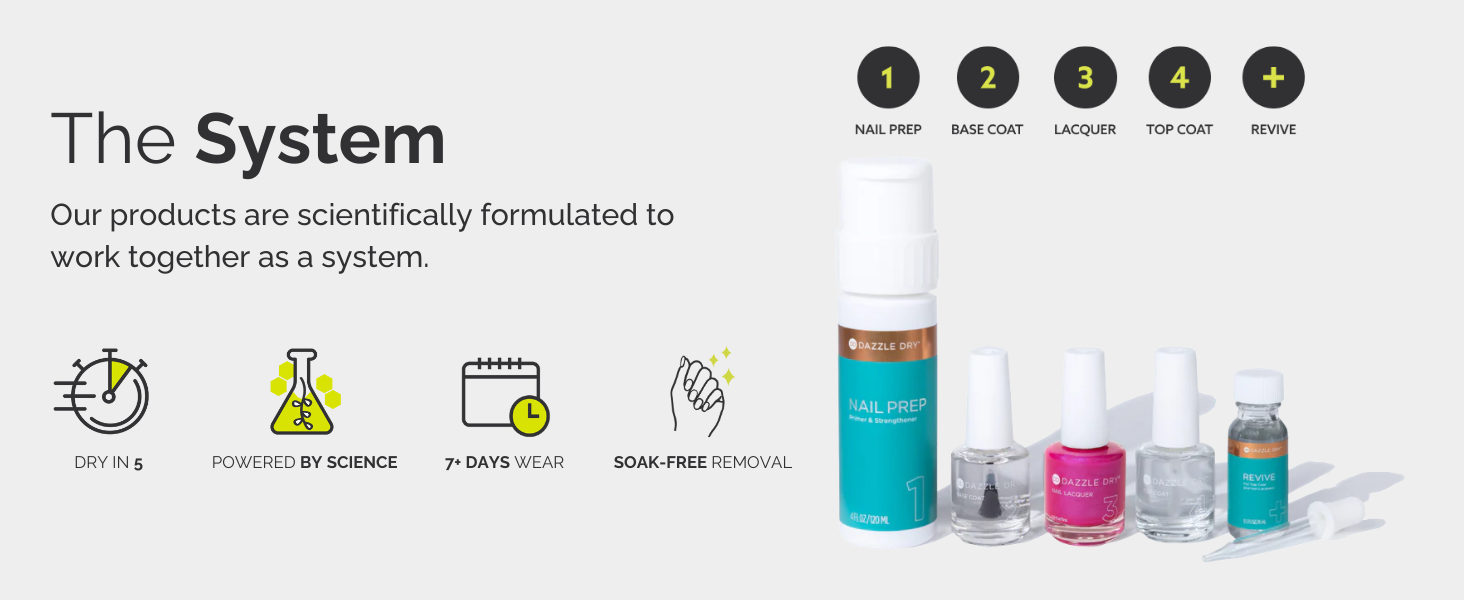
💅 Elevate your nail game—fast, flawless, and fearless.
The Dazzle Dry Mini Kit offers a professional 4-step nail system that air-dries in just 5 minutes and delivers 7+ days of chip-free wear. Featuring a non-toxic, vegan, and cruelty-free formula free from harmful chemicals, this kit includes Nail Prep, Base Coat, Lacquer in the neutral 'Boss' shade, Top Coat, and a bonus Revive thinner to perfect your polish consistency. Ideal for busy professionals seeking salon-quality manicures at home without UV exposure or nail damage.
| ASIN | B0962P6TRD |
| ASIN | B0962P6TRD |
| Best Sellers Rank | #121,752 in Beauty ( See Top 100 in Beauty ) #275 in Manicure & Pedicure Kits |
| Customer reviews | 4.2 4.2 out of 5 stars (210) |
| Date First Available | 28 May 2022 |
| Item model number | 616 |
| Item model number | 616 |
| Manufacturer | VB Cosmetics Inc |
| Manufacturer | VB Cosmetics Inc |
| Product Dimensions | 14.61 x 12.07 x 3.81 cm; 132 g |
| Product Dimensions | 14.61 x 12.07 x 3.81 cm; 132 g |
D**N
Dazzle Dry nail system was recommended to me by a friend. Her nails look lovely & mine needed a change from damaging gel polish. I ordered a DD Mini Kit. It had to come from the US ($105 CA with exchange rate, taxes, duty, etc.) & when it finally arrived, the little Revive bottle was almost empty & the entire package had a VERY STRONG “nail polish” odour & was stained & discoloured. I contacted Amazon & was told I needed to contact DD directly. After 3 weeks of emails going back & forth with DD (I was asked 3 times to be patient while they considered the problem with my order) they told me to return the kit via registered mail (so that it could be tracked) to the Canadian DD distributor AT MY EXPENSE. When I went to do this I learned that this would cost about 50% of the $105.00 CA that I had paid for the kit! I gave up! 🙄 I now have a Mini Kit with no Revive! And NO SUPPORT from the company that makes Dazzle Dry! I would still like to try using this product but without one important component, I am unwilling to do so! This is a fairly expensive nail polish system (for us Canadians!) & I am VERY DISAPPOINTED with how this issue has been handled 🙄
N**H
I am a first time user of Dazzle Dry. I was looking for a long lasting solution to gel because gel damaged my nails badly. There is a video online with instructions which I watched twice before applying the nail polish. I must admit I’m not great at doing my own nails and the nail polish (colour was Boss) was very thick so it was patchy. I used the ‘revive’ solution to make it thinner and saw a little bit of improvement. Overall though it is long lasting but I need to get better at application so it doesn’t look like a DIY job!
C**S
I have painted my nails for the past 55 years and tried every product along the way. Found after using Dip that I was having allergic reactions. I then went to Gel which was ruining my nails. They had become weak and were splitting and I'm thinking wrapping our nails in acetone is not such a good idea. Dazzle Dry comes off easy goes on easy and drys immediately which is one of the characteristics we are all looking for. It does not last as long as other products but gives me at least a good week and a half. Nails are getting stronger every week!
C**B
I might as well have burned $35. I carefully followed directions included with the product, but on the second day after my manicure the polish began lifting off. I wanted a refund, but they aren't available for this product. I wrote to the seller explaining the issue, and I kid you not... They sent the following instruction manual for getting a "flawless manicure" Now, I don't know if all of the instructions will fit in this review, but I'm going to attach them so you can see for yourself what is expected. The message began with: Are you making sure to follow the proper application for a flawless manicure? Step #1 Nail Prep -Wash hands with soap and water to remove any contaminants. -Saturate 2 lint-free cotton pads (or gauze) well with Step #1 Nail Prep and scrub each nail (pay particular attention to the cuticle area, sidewalls and free edge), removing ALL remnants of oil, lotion, and other contaminants. -Use 1 lint-free pad per hand to avoid transfer of oils from one hand to the other, ensuring optimum cleanliness of the nail plate prior to polish application. -As you move on to the next nail, rotate your pad to find a clean spot to ensure you are not pushing around oil/ lotion. -Do not touch nails once they have been cleansed with the Nail Prep to avoid transfer of oil/lotion onto the nail plate. Step #2 Base Coat -Apply first layer of Base Coat, encapsulate the free edge and allow to dry matte. -Repeat the second layer of Base Coat, encapsulate the free edge and allow to dry matte. -Don’t apply Base Coat heavily as it can flood the side walls and come in contact with skin, which could lead to premature chipping. -Skip encapsulation of the free edge if nails are short. Step #3 Nail Lacquer -The key to applying the DD Lacquer is having more polish on your brush, using minimal pressure on your brush, working more with the tip of the brush, not fanning out the bristles (you are pressing too hard if the bristles are fanned out), and not over-stroking to avoid disrupting the previous layer. -Apply the first layer of Nail Lacquer using about a medium consistency, not too thin and not too thick and cap the free edge. Dip -the brush in the bottle for each nail and swipe off excess product using the inner neck of the bottle. Allow to dry matte prior to applying the second layer. -The second layer may be applied generously. Dip the brush in the bottle for each nail and swipe off excess product using the inner neck of the bottle. -Be mindful of not applying too heavily so that the Lacquer does not roll to one side or pool. -Encapsulate the free edge of each nail with the Lacquer and allow to dry matte. -If you get it on the skin, clean up with pure acetone and a detail brush as you go. Waiting until the end will make it more difficult to clean as it dries so quickly. -If nails are short, no need to encapsulate. Step #4 Top Coat -Generously float Top Coat by dipping the brush in the bottle for each nail and swiping off the excess product using the inner neck of the bottle. Use minimal pressure and work with the tip of the brush to glide over and burst any air bubbles that may have formed. Encapsulate the free edge of each nail, sealing in all the layers. -Wait 5 minutes and voila – Lacquer is hard set. -If nails are short, no need to encapsulate. -Do not use drying drops or sprays (drying drops and sprays are an added cost and do not help in drying the layers underneath any polish), or fans (could cause wrinkling) to accelerate dry time. Also avoid blowing on the nails (could make polish foggy). Please let us know if you need anything else. Have a great night! So....if you follow not only the included directions, but also the "extras" mentioned here, then perhaps your manicure will last more than 2 days.
A**A
Love them so far. They dried so fast and are super hard like salon. Now we wait to see if they last! 💅🏻
Trustpilot
Hace 2 semanas
Hace 3 días