Desert Online General Trading LLC
Dubai, United Arab Emirates
Desert Online General Trading LLC
Dubai, United Arab Emirates


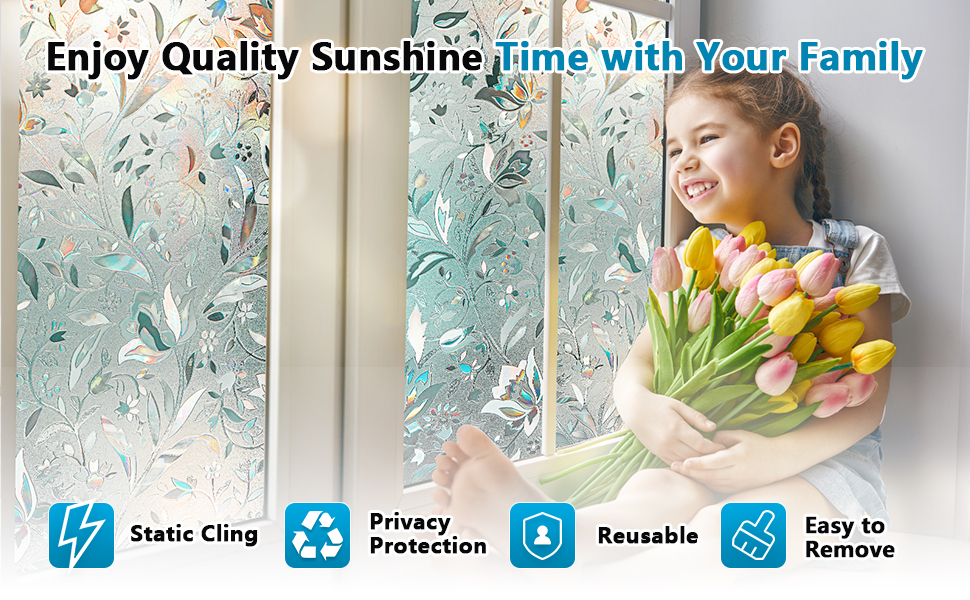
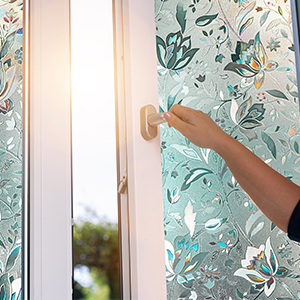
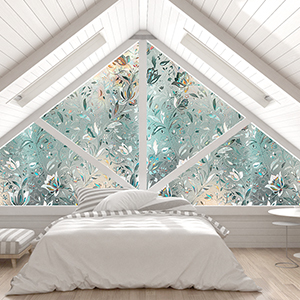
🌟 Elevate your windows—privacy, style, and UV defense all in one sleek film!
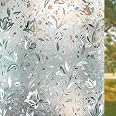
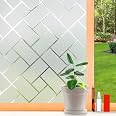
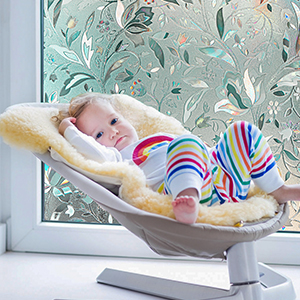
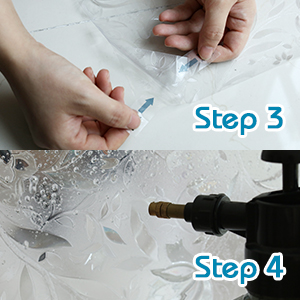
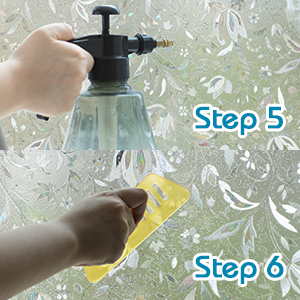
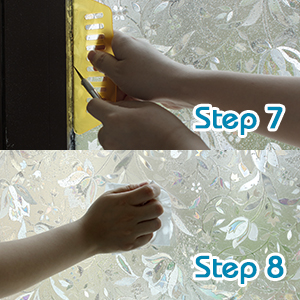
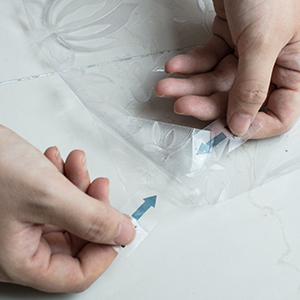
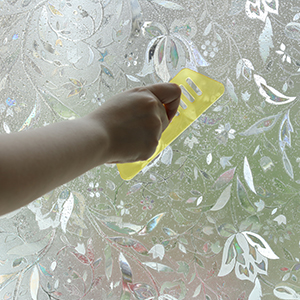
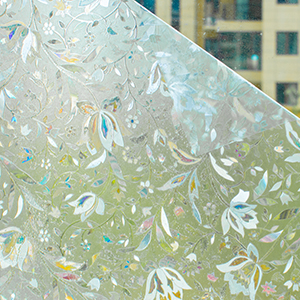
This 17.5" x 78.7" frosted window privacy film uses static cling technology for easy, glue-free installation. It blocks up to 99% of UVB rays and 84% of UVA rays, reducing glare and protecting interiors. With 80% opacity, it ensures privacy while allowing natural light, and its special 3D design creates a captivating rainbow effect when sunlight passes through, perfect for modern homes and offices seeking stylish, functional window solutions.


Trustpilot
Hace 2 semanas
Hace 2 semanas